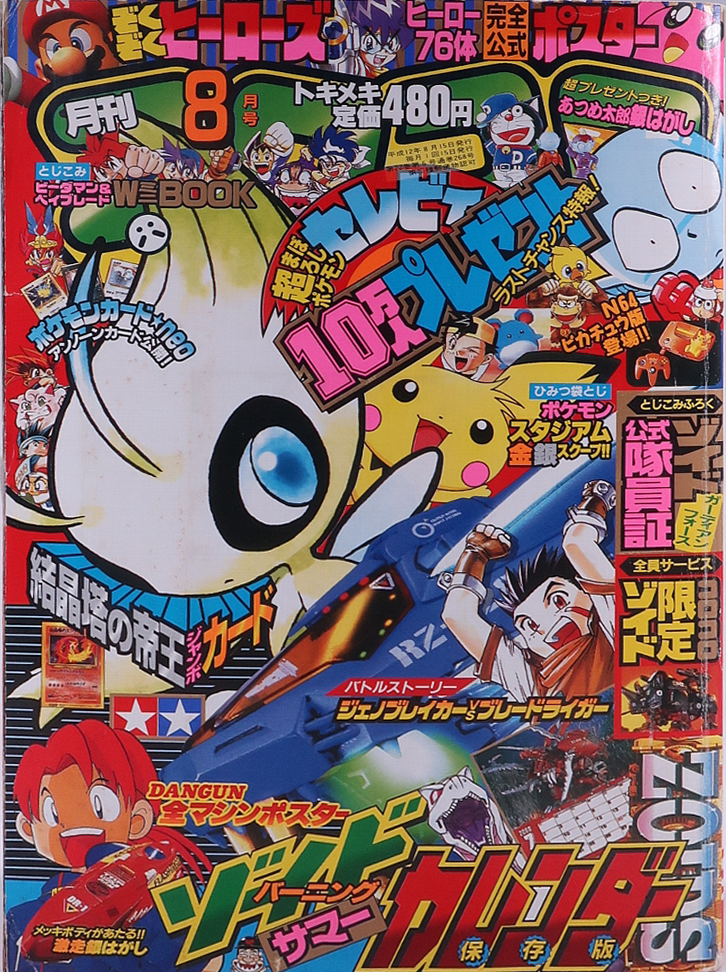
Zok Zok Heros was on KOROKORO Monthly Comic (月刊コロコロコミック) from June 2000 to December 2000. The 2000 August issue came with a poster of Zok Zok Heroes and their Universe Symbols (ぞくぞくヒーローズ超図鑑).
Zok Zok Heros was on KOROKORO Monthly Comic (月刊コロコロコミック) from June 2000 to December 2000. The 2000 August issue came with a poster of Zok Zok Heroes and their Universe Symbols (ぞくぞくヒーローズ超図鑑).
Kano Wand Hack:
https://hackaday.io/project/161832-kano-wand-hack
Bluepy Based Solution:
https://www.instructables.com/SmartWand/
Arduino Wifi Rev2 and ESP32:
https://github.com/sabas1080/KanoWandHack
Unofficial library:
https://github.com/anzellai/wandkit
Bidirectional communication between Kano Coding Wand and Client connection.
https://github.com/anzellai/bluewand
SOAI (Tiny Open Source API) to speak with the KANO Wand
https://github.com/wizofe/bluewand-python
Demos using the Kano Wand python module
https://github.com/GammaGames/kano-wand-demos

Now upload D1208:
Just in a few hours, I am going to participate in the graduation ceremony for our Class 2021 cohort. I worked with a good portion of them extensively in their first year of school in virtual reality and playful experience design. I wanted to make something to remember them by. It is purely impulsive and based on no research or data. It is very last minute, but I decided to celebrate this moment with a new exit act.
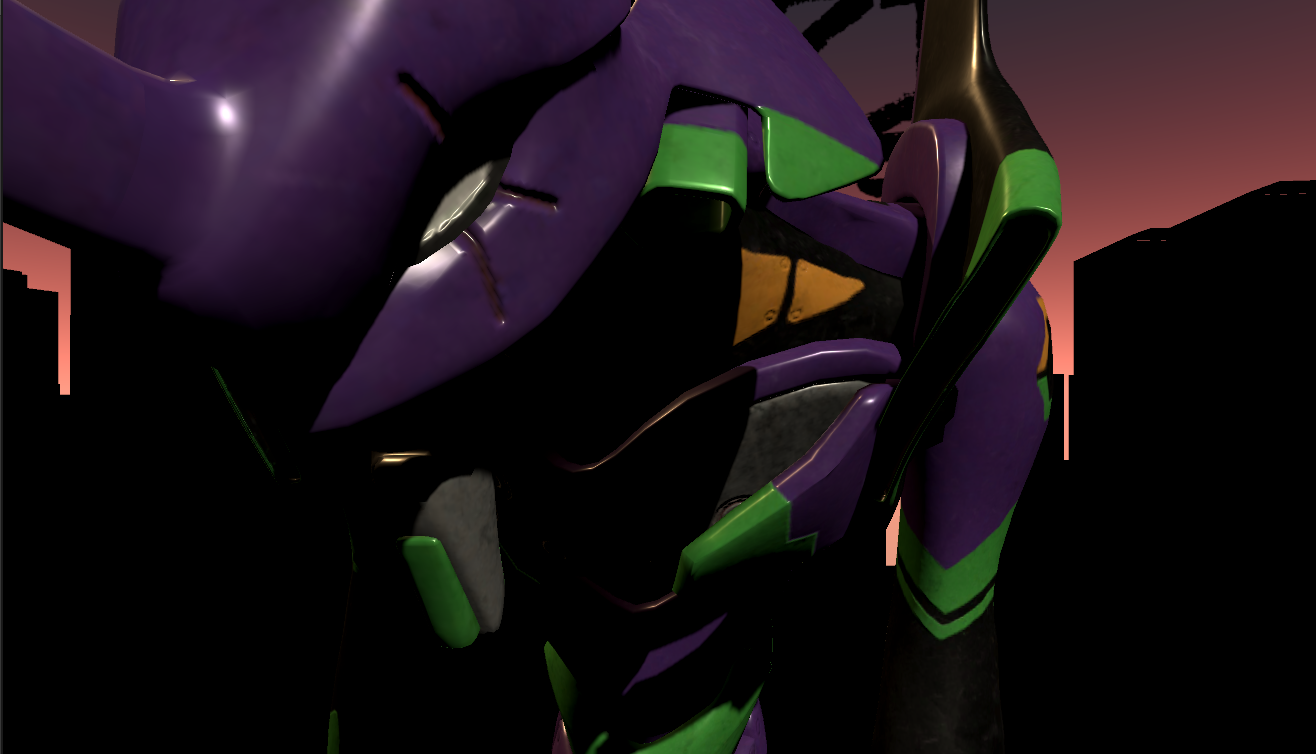
After we moved the learning online after the pandemic last year, I have been experiment with different online identities. From animated characters with face tracking to cosmetic filters, it was an unexpected adventure into a world of digital tools that I didn’t care much for. During those experiments, I created a thing called exit acts – exit zoom meetings with style. I created one for taking off in a Gundam RX-78 and another one for flying away with Spike’s Swordfish II from Cowboy Bebop. Jamming it out with an EVA – 3 from Neo Genesis Evangelion seems like a reasonable next project.
My teaching assistant, Sharon, told me that the overall visual scheme of their thesis website was inspired by the color scheme of the animation -Evangelion. Time to collect some assets and put together a theme. I want to use a cityscape silhouette to create a high contrast between foreground and background similar to the technique used in some of the Fortnite banners.
Evangelion Unit 1:
https://sketchfab.com/3d-models/evangelion-unit-01-49c7a77272c84154a711d7cfd5cb47f4
Evangelion – Entry Plug(with sound):
https://sketchfab.com/3d-models/evangelion-entry-plugwith-sound-3e4245a5f40b45eca02dab55e6b47a93
Here is the end result:

SUSHI – 1 is pronounced as SHUSHI /ˈʃuːʃi/ One like how a 7th-grade kid would pronounce it. It is a pre-programmed wireless game controller breakout system made for young makers or creative individuals who are interested in tinkering with gaming interfaces with the burden of building electronics from the ground up.

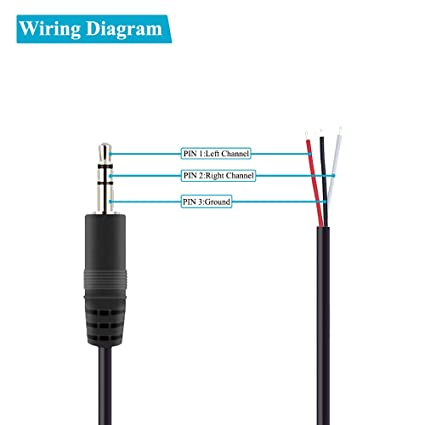
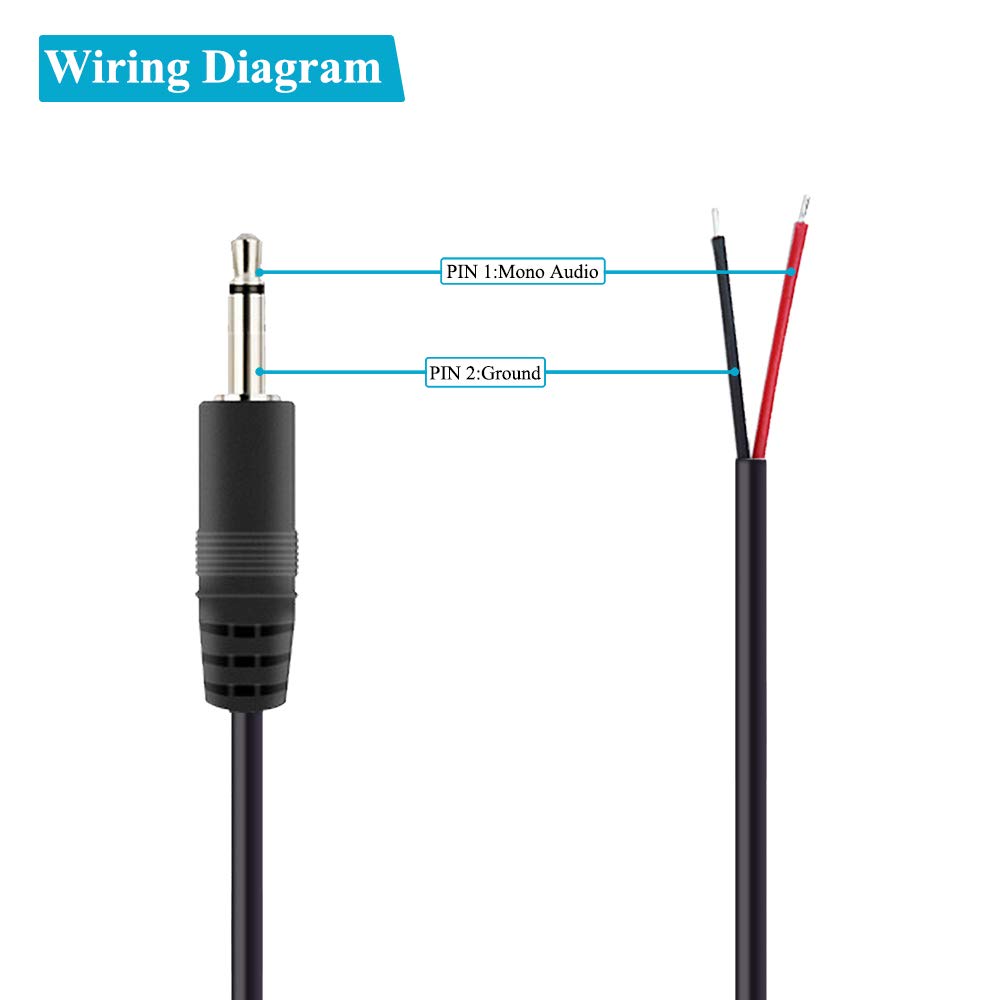
Three soldering points from left to right: Left channel (tip), Right channel (ring), Ground (sleeve).
Arduino IDE 1.8.13
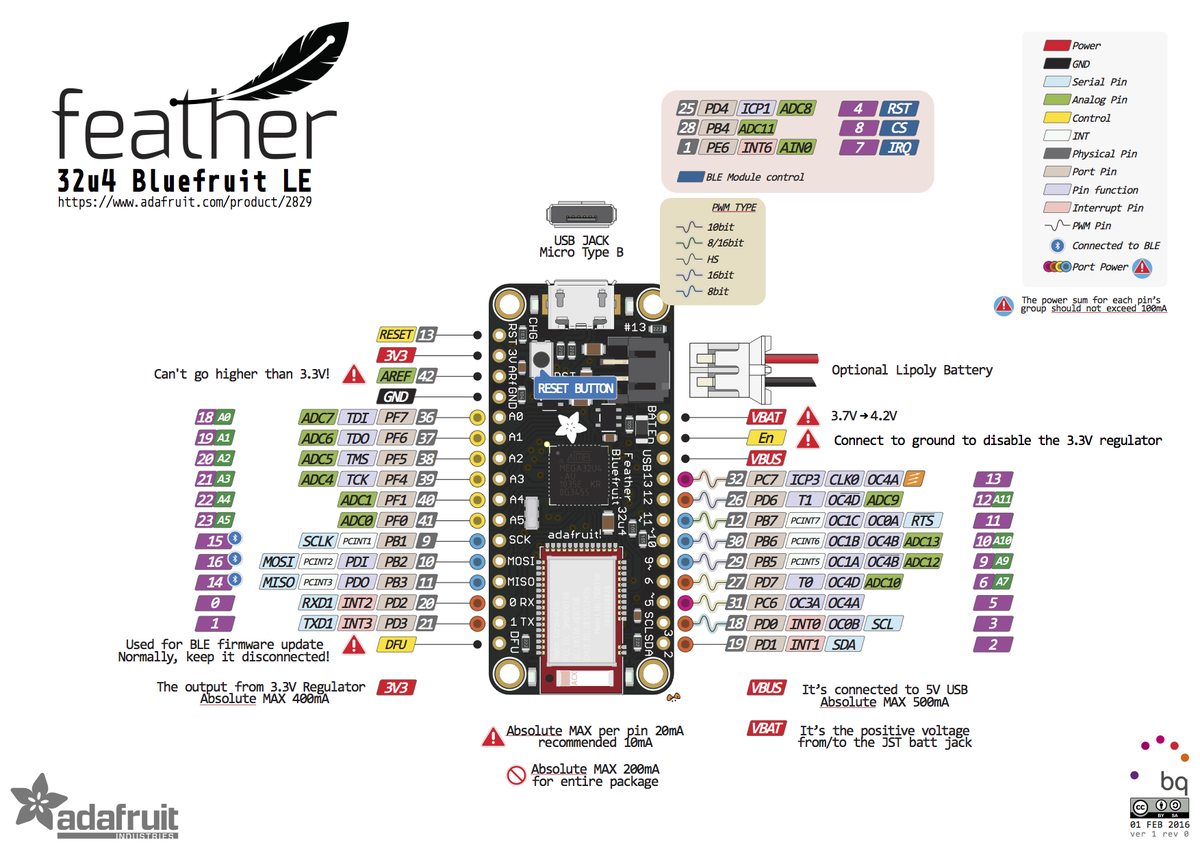
Board: Adafruit Feather 32u4 Bluefruit LE
https://learn.adafruit.com/adafruit-feather-32u4-bluefruit-le/setup
This setup page seems outdated. All the libraries mentioned are not available. Based on Adafruit’s HID keyboard tutorial, I found Adafruit BluefruitLE nRF51. This library has the example sketch I am looking for.
I am using digital pin 2, 3, 5, 6, 18, 19, 20, and 21 for this prototype.
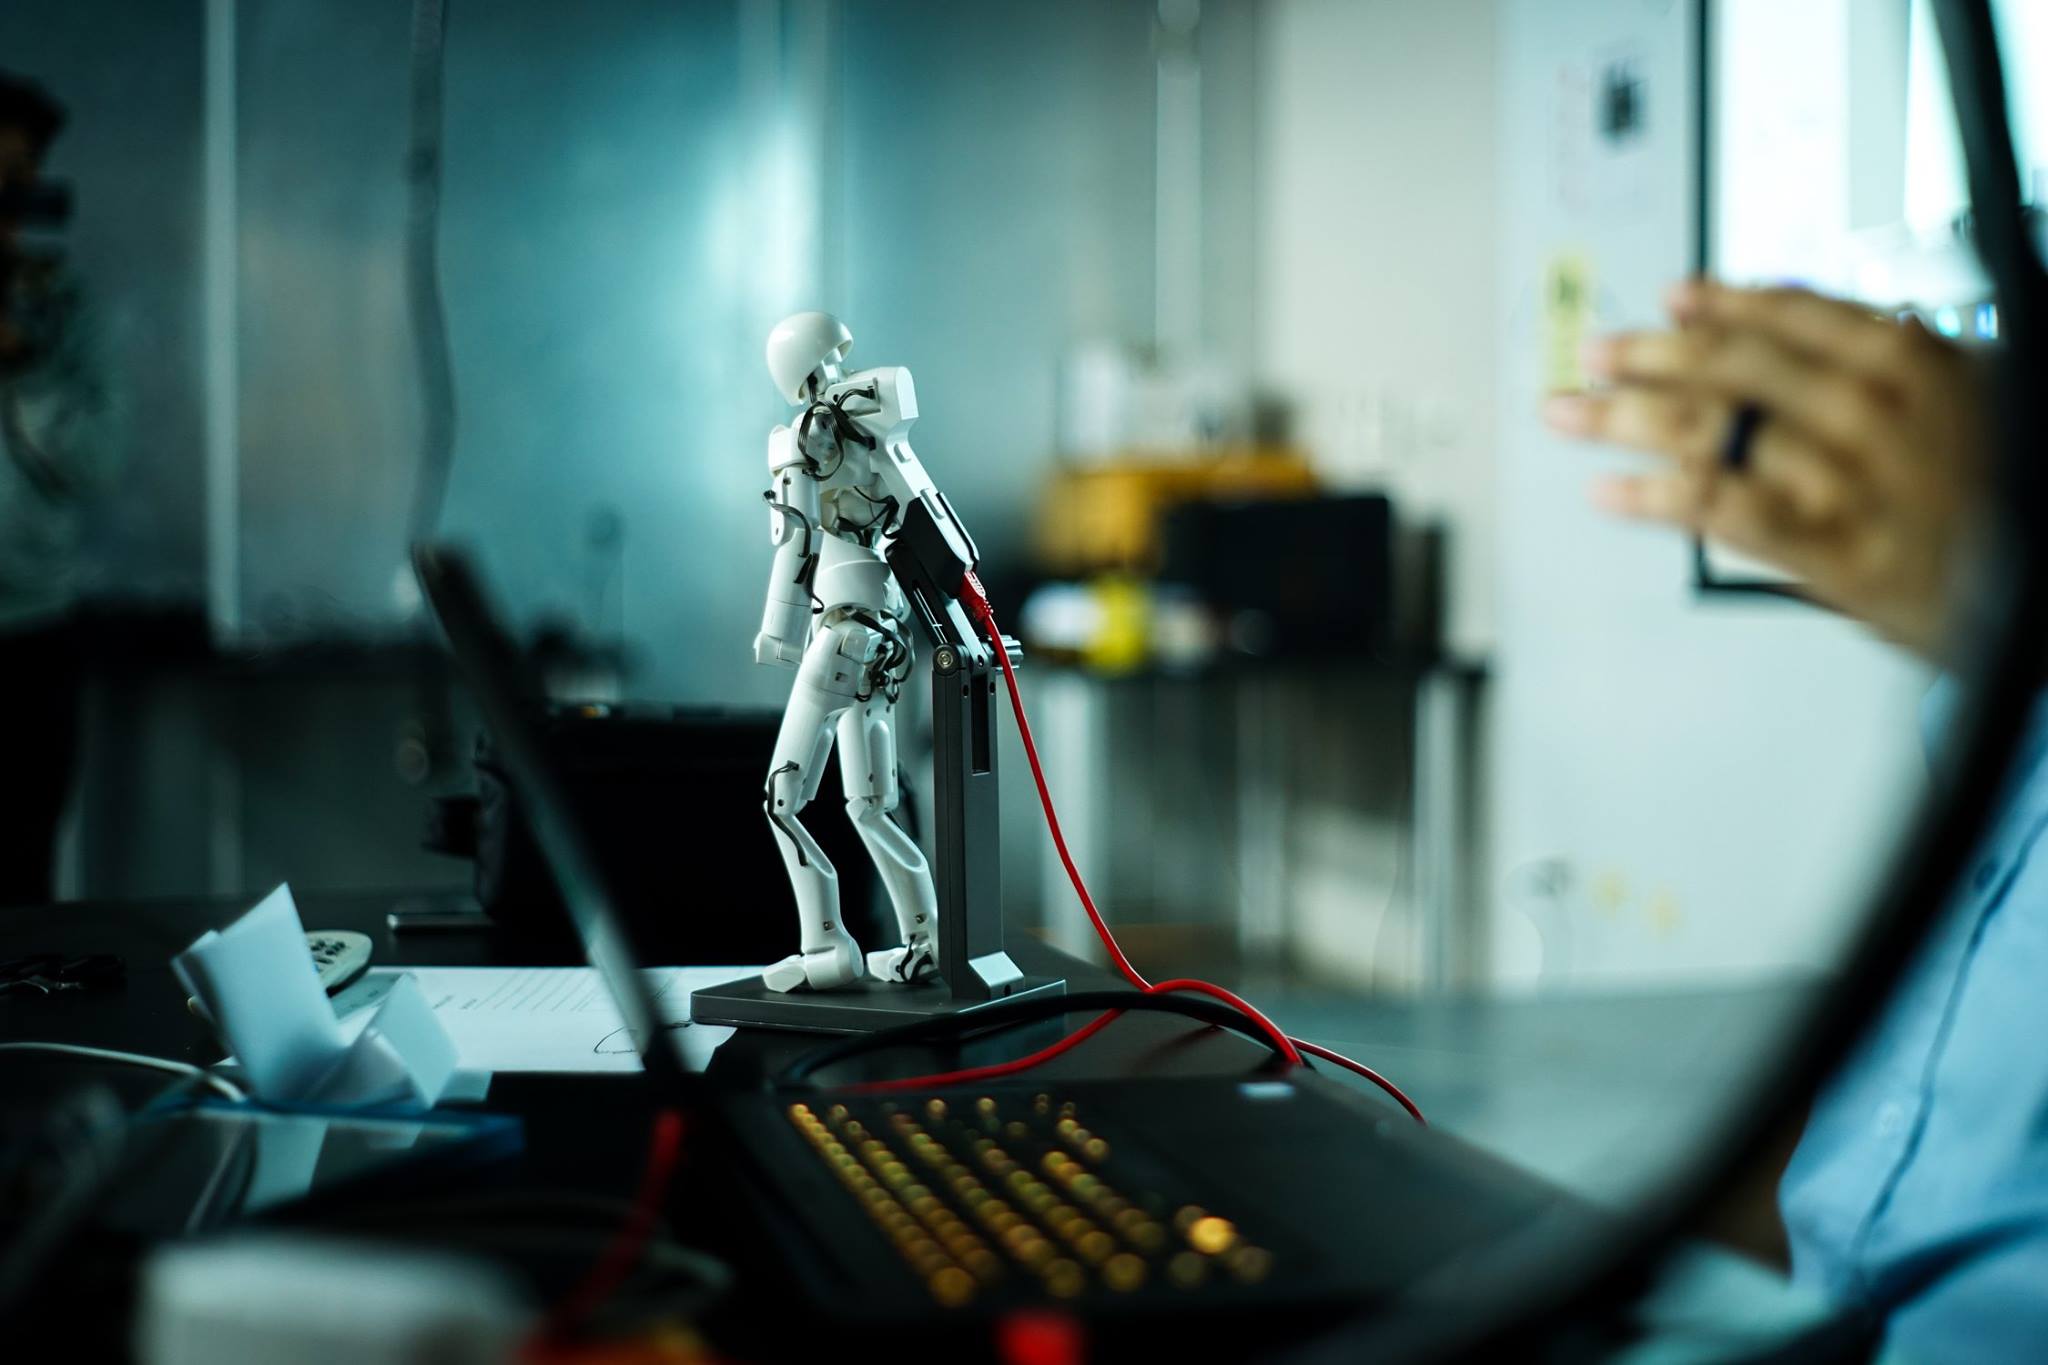
This is one of the longer journeys that I have gone through to figure something out. It took me about three years of on and off research in a language and a tech community I knew very little of. I was working on a project in Tokyo in 2012 and saw Qumarion for the first time at a computer store in Ikebukuro. It was a love of first sight because I was looking for alternative tools and pipelines for 3D modeling, rigging, and animation.
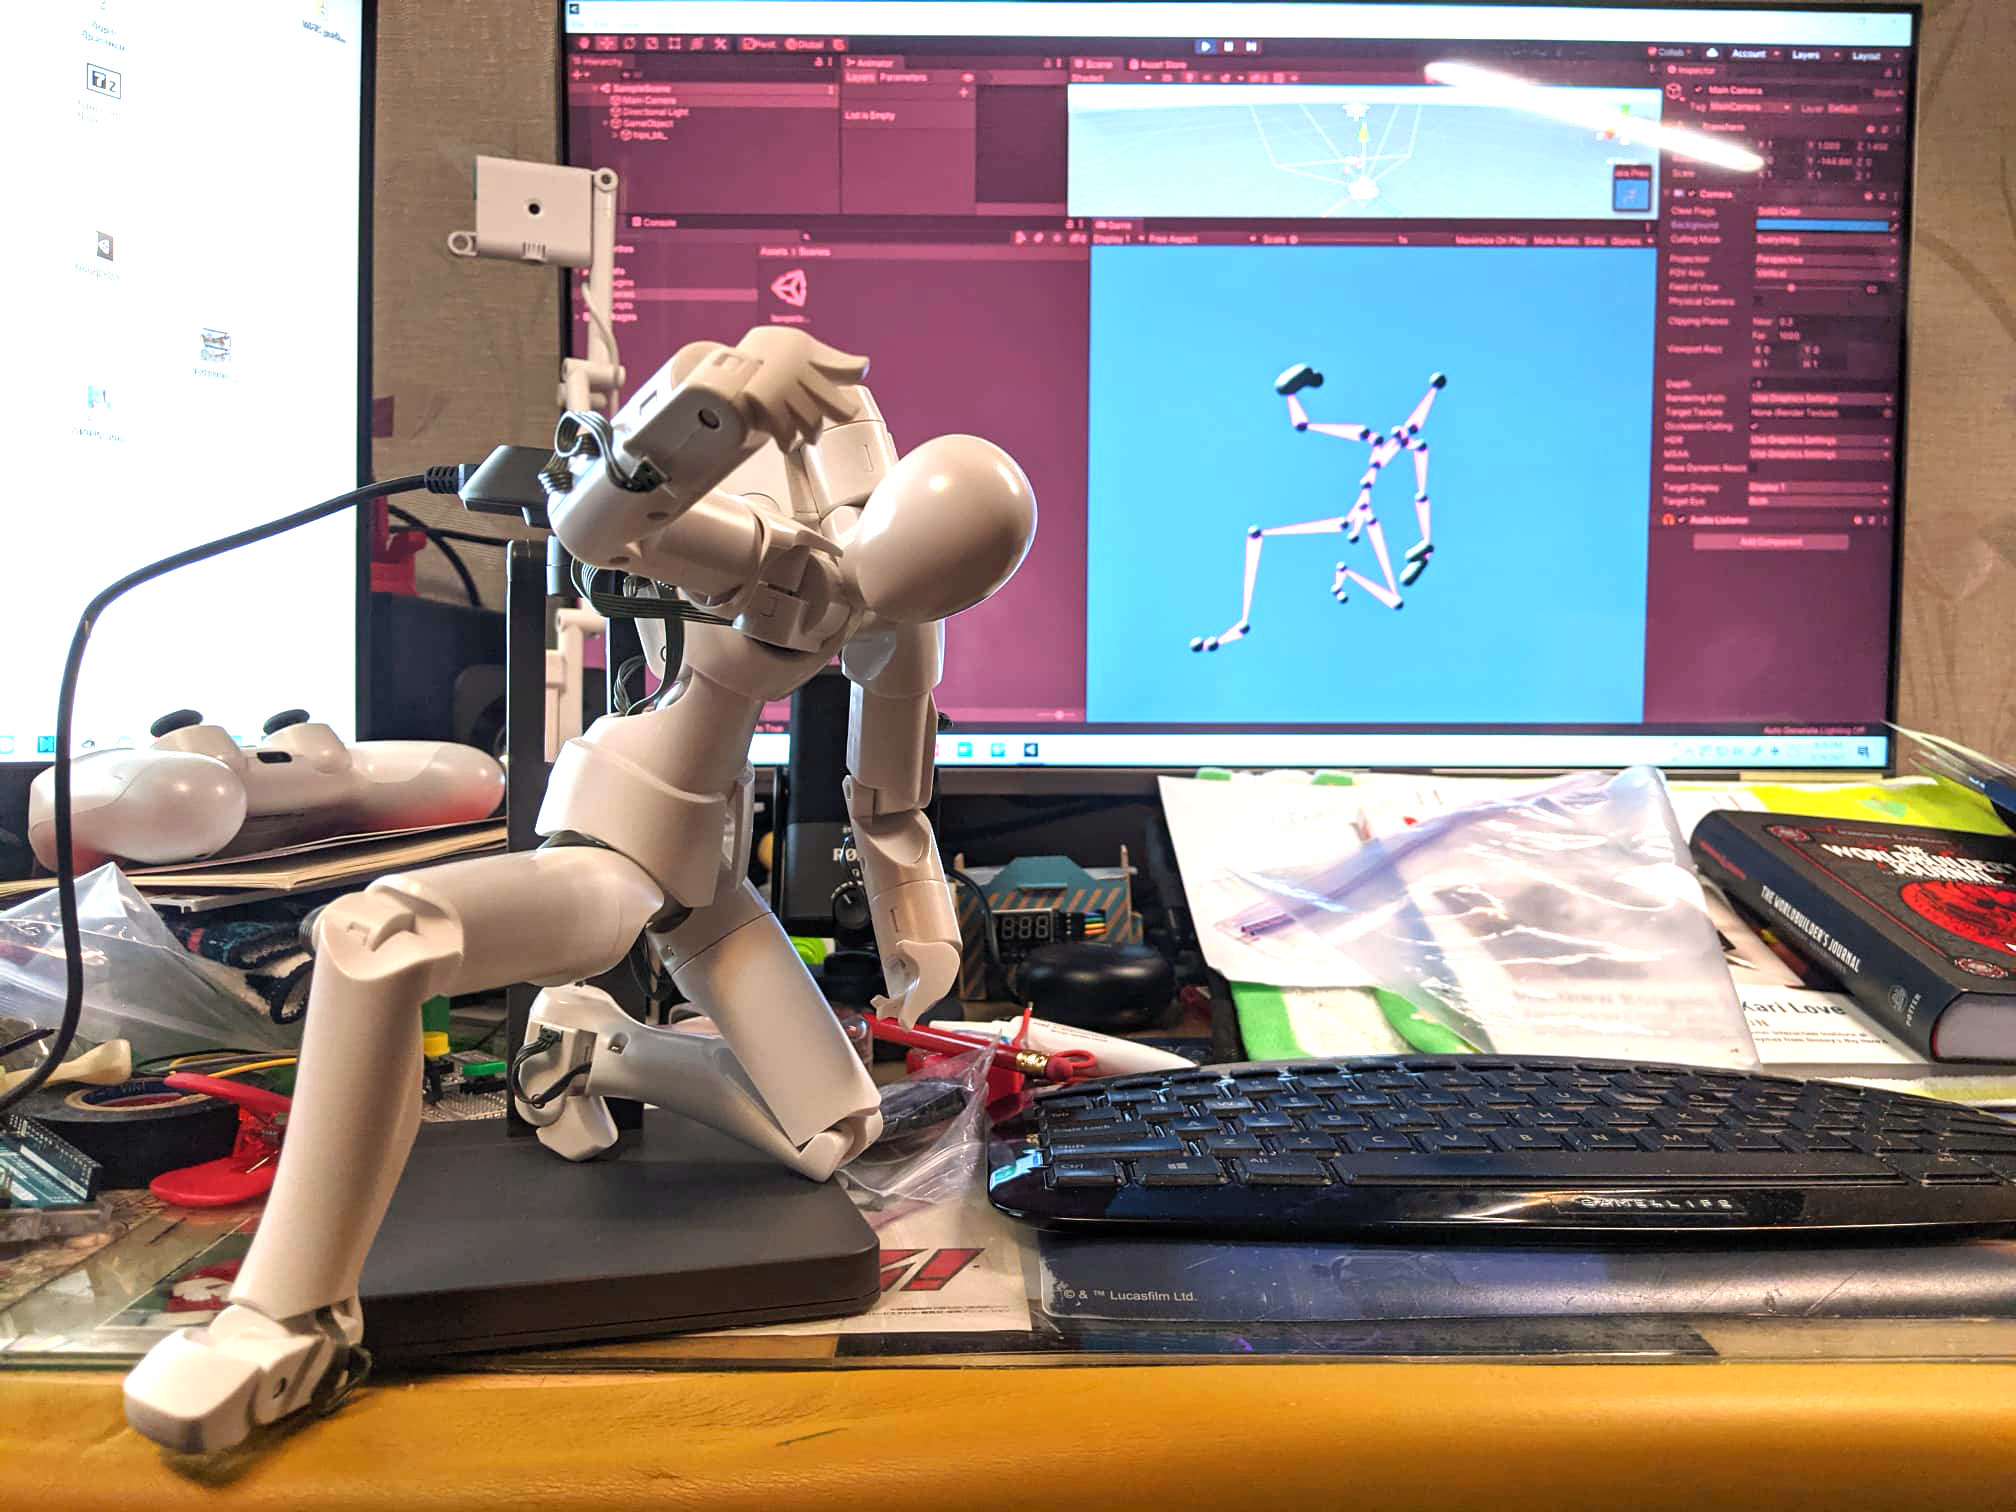

Scene Motion Capture:
https://assetstore.unity.com/packages/tools/animation/scene-motion-capture-19622
https://forum.unity.com/threads/record-playmode-animations-for-model.659917/
Unity’s Animation Rigging plug-in is capable of recording animation at runtime!
“12:20 …and if I keep that change it will be saved to the clip so during gameplay animators can create new animations…”
And in this STYLY tutorial:
How to record a character’s motion with EVMC4U and EasyMotionRecorder
https://styly.cc/tips/evmc4u_easymotionrecorder_virtualmotioncapture/
in which this jewel was mentioned:
EasyMotionRecorder:
https://github.com/neon-izm/EasyMotionRecorder
I was obsessed with this video by Sarah Cooper and PWMCT should be a game, a card game.
2 ~ 6 players
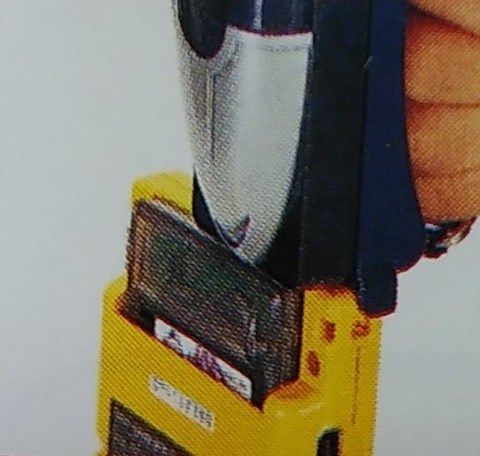
I did an HID mouse demo last week using two potentiometers and two buttons. It worked out fine but was really difficult to use as an alternate game controller. I found a thumbstick module and it worked so much better than the setup I had. I wanted to mount the thumbstick module onto something to make it easier to handle. I looked around in the house and found this perfect empty chocolate container. The shape of the container provides a firm grip for my triggering hand.
“It is not sufficient to write programs that work. They must also be ‘elegant,’ either in code or function – both, if possible.”
J.M.Graetz
Martin Graetz recalled the development process behind the first video game – Spacewar! in a magazine interview. He mentioned that the quest for elegance in code and function was the reason why hackers at MIT were so involved in refining the game. Spacewar! was originally created on a PDP-1 which was capable of doing very simple mathematical calculations.
“on the early PDP-1s, anything stiffer than integer addition and subtraction had to be done by subroutine”
Creative Computing Magazine, August 1981
Keeping elegance in mind when facing the most restricted hardware limitations, creative coders haven’t changed a bit since 1962.
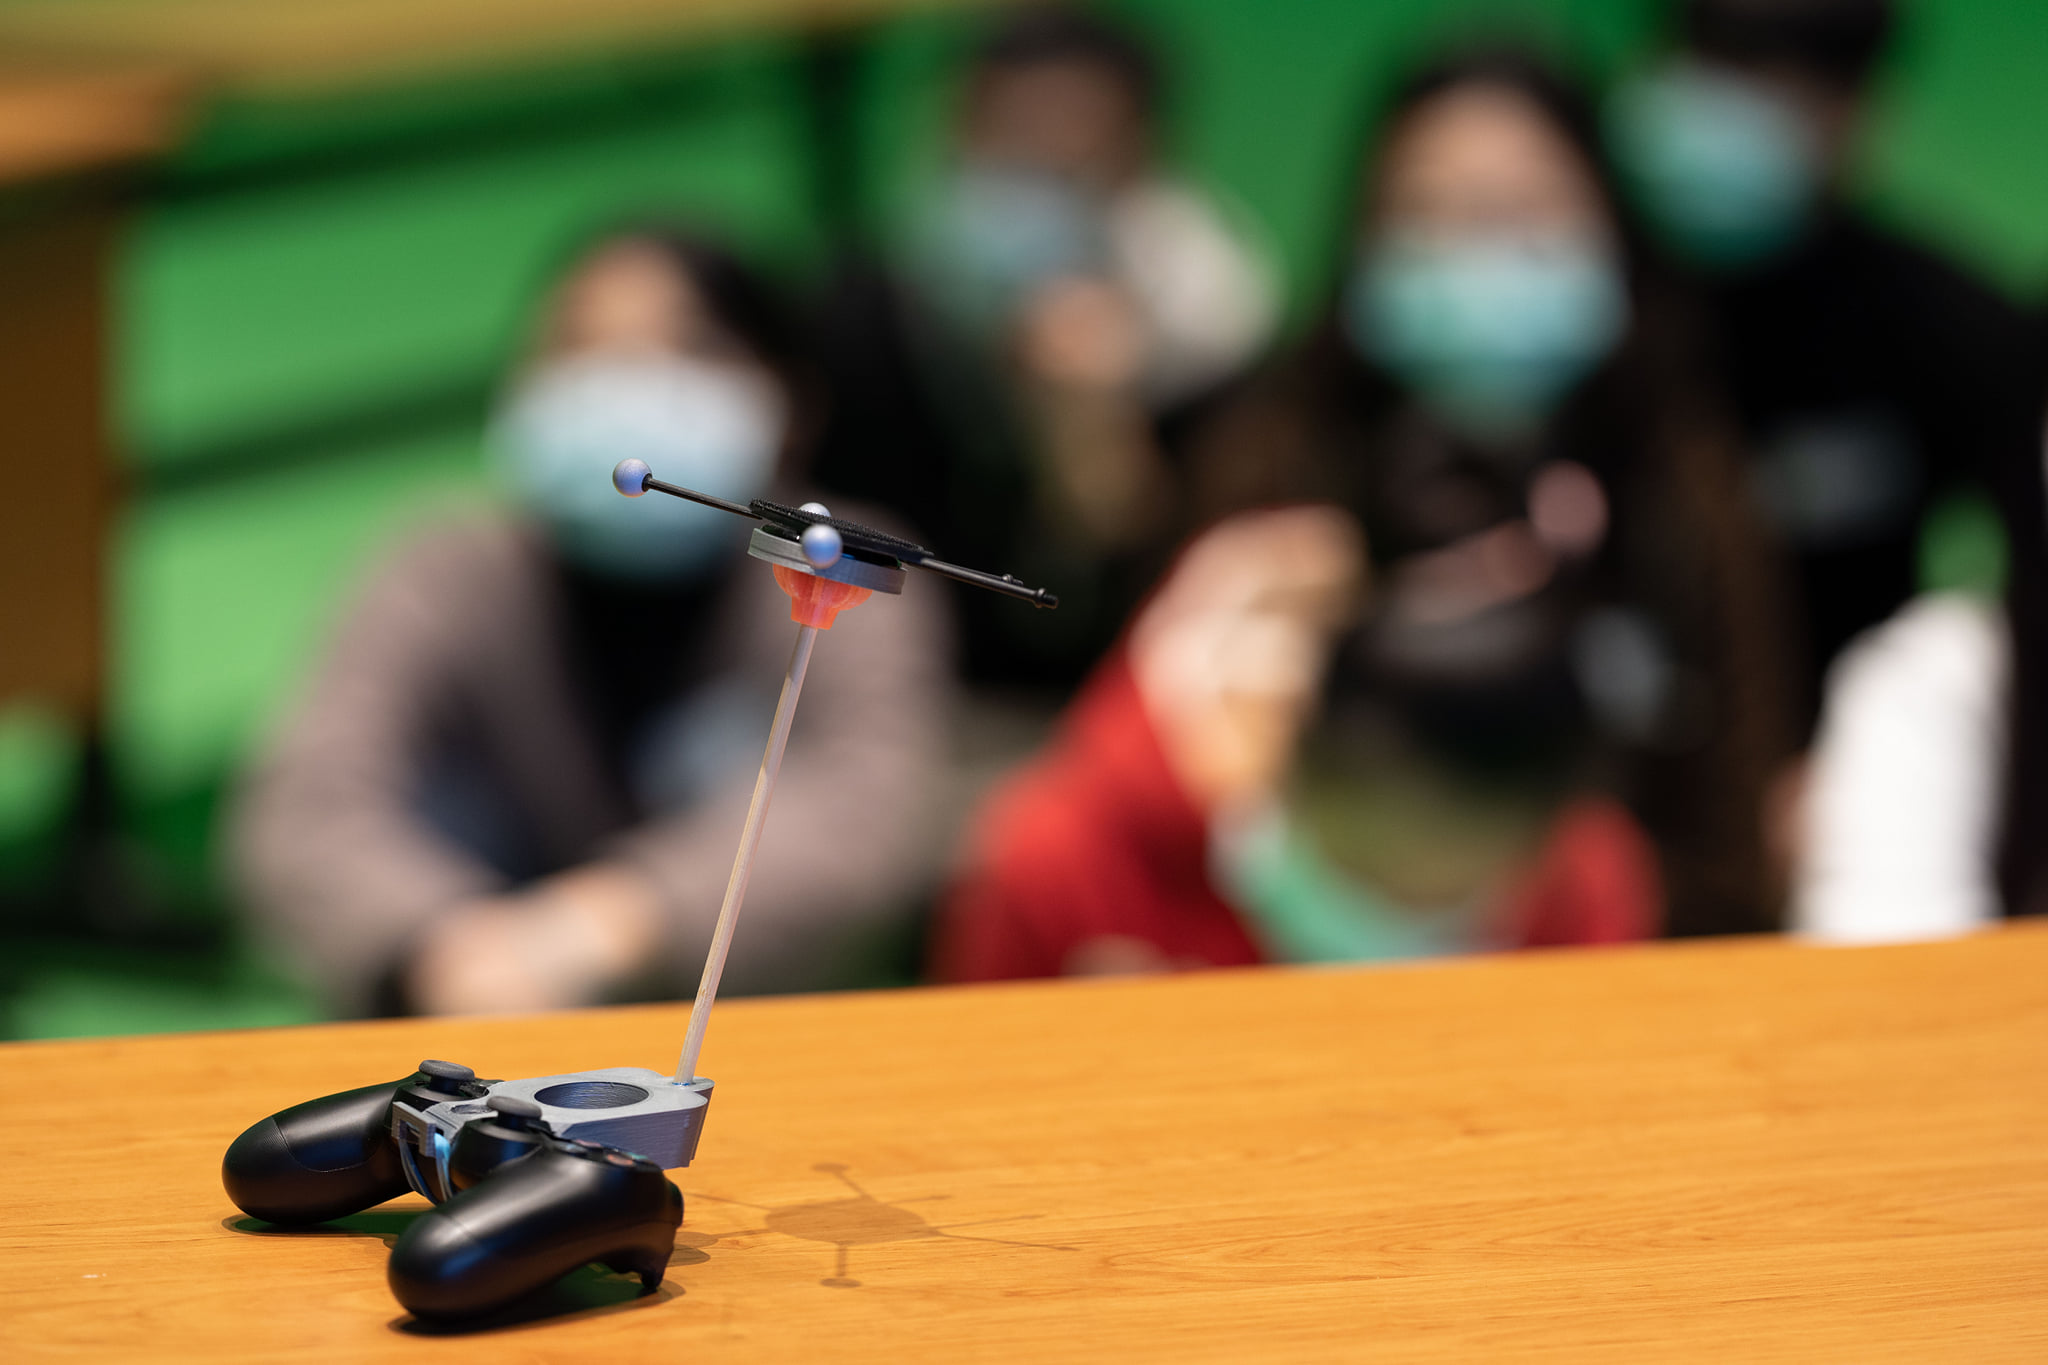
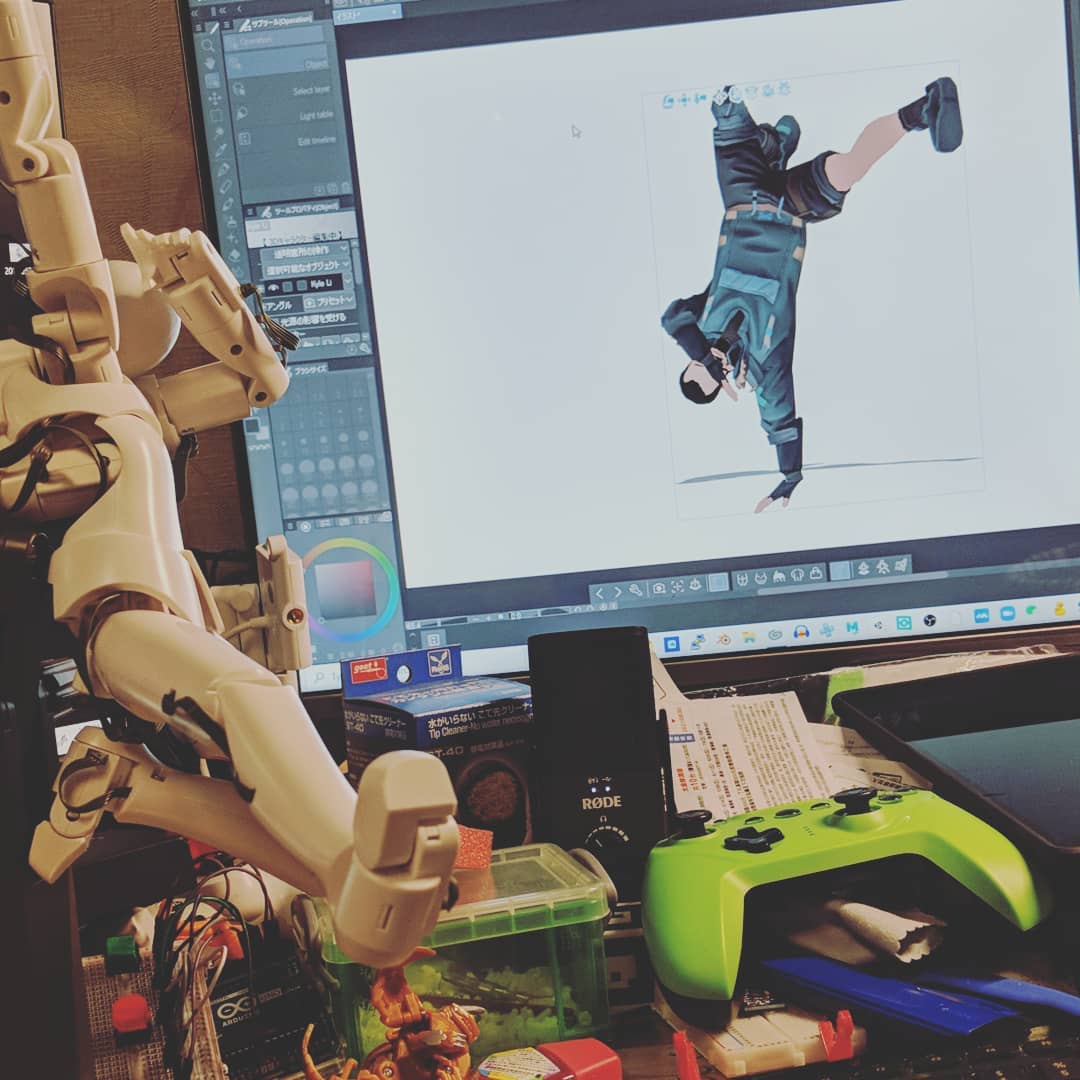
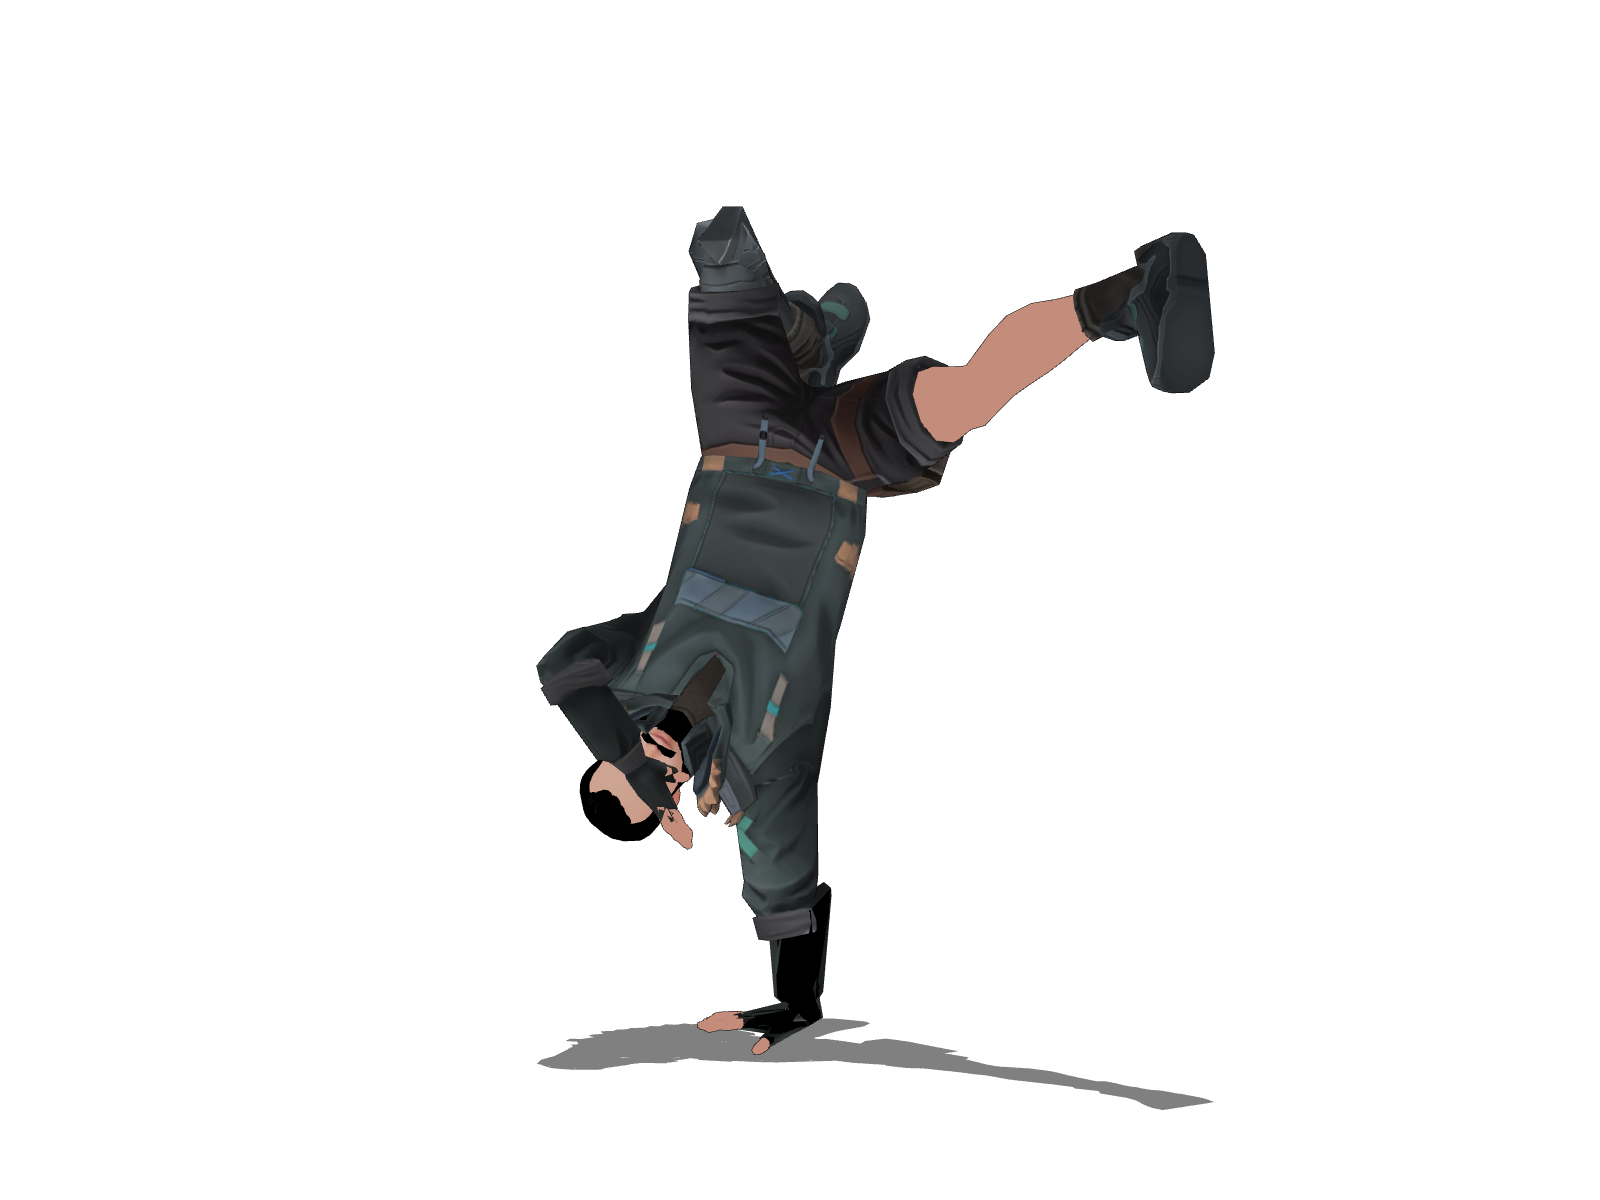
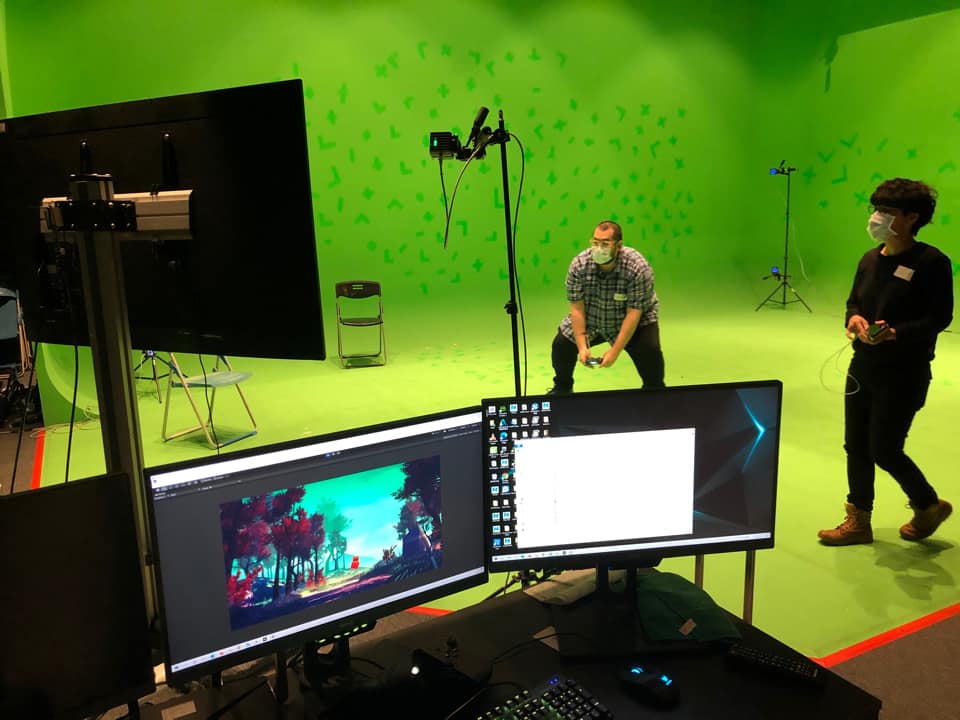
During the planning of a workshop on Motion Capture recently, I was thinking about what to demo right after calibration. I remembered when I visited Disney World last time, I saw a super cool live performance called “Turtle Talk with Crush!” I thought it would be interesting to map a rigid body to a digital character in Unity3D.
To take it to a next level, bundle it with a game controller and turn it into an interactive puppet rig! I 3D printed an add-on to my PS4 controller and quickly put together a scene with free assets and there we go! This little red ghost lost in the woods did the job for me.
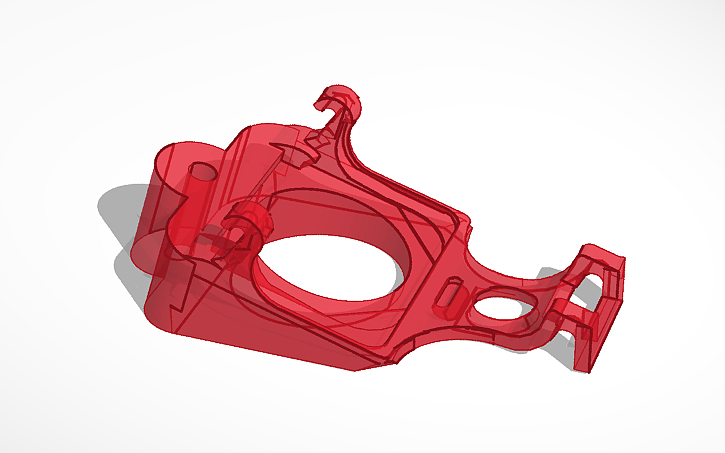
I found an existing add-on on Thingiverse and modified it on Tinkercad. It is using hooks and a rubber band to hang on to the controller on the back. I tried to find an angle to print so I don’t have problems creating supports, especially where the hooks are.
PS4 Controller Map for Unity:
source
Buttons
    Square  = joystick button 0
    X       = joystick button 1
    Circle  = joystick button 2
    Triangle= joystick button 3
    L1      = joystick button 4
    R1      = joystick button 5
    L2      = joystick button 6
    R2      = joystick button 7
    Share	= joystick button 8
    Options = joystick button 9
    L3      = joystick button 10
    R3      = joystick button 11
    PS      = joystick button 12
    PadPress= joystick button 13

Axes:
    LeftStickX      = X-Axis
    LeftStickY      = Y-Axis (Inverted?)
    RightStickX     = 3rd Axis
    RightStickY     = 4th Axis (Inverted?)
    L2              = 5th Axis (-1.0f to 1.0f range, unpressed is -1.0f)
    R2              = 6th Axis (-1.0f to 1.0f range, unpressed is -1.0f)
    DPadX           = 7th Axis
    DPadY           = 8th Axis (Inverted?)