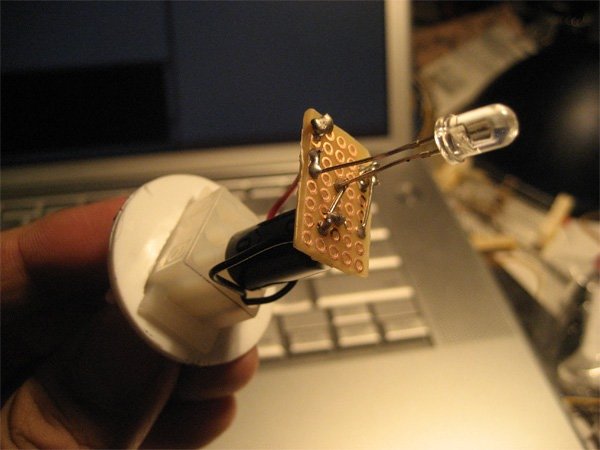
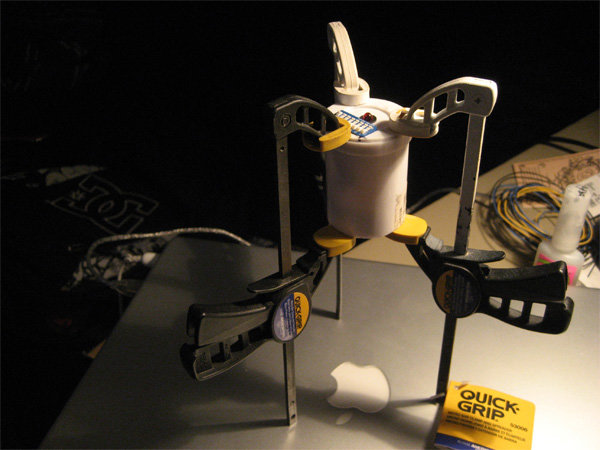
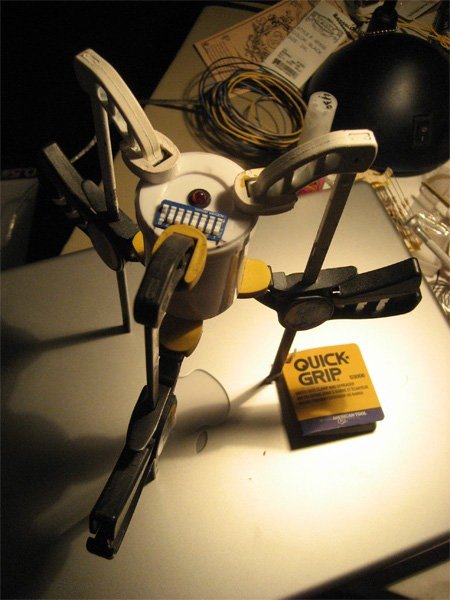
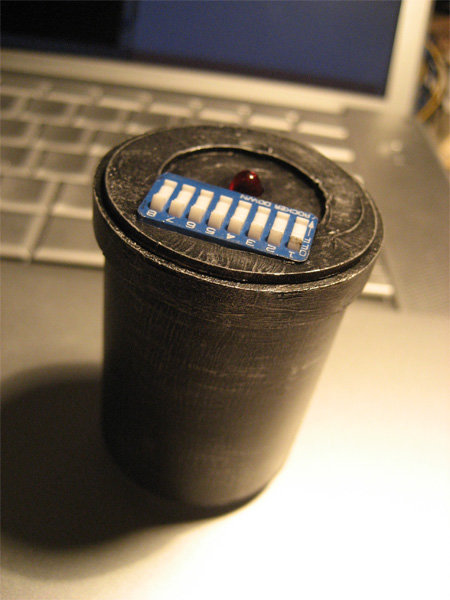
In SMALLab, we combine color tracking and IR tracking to define a point in physical space. Theoretically speaking, we are able to track as many points as we want and identify each of them as an unique point since there are 255X255X255 colors. In reality, the light is uneven in the space, we have to deal with shades, color gets darker when it’s farther away from the cameras, right now we are able to track up to three stable points at the same time using orange, green, and blue, each paired up with IR.
When I was visiting Sony Explora Science museum in Odaiba, Tokyo. I saw this installation that teaches kids how cellphone tower works and it got me thinking, there might be a chance we can track up to four or more colors. The installation uses typical 1 projector and 1 camera setup on top. The camera tracks four different colors, green, red, blue, and purple. The color cube in the picture below has a button that can switch in between four colors. This might came out of an experiment for Sony Playstation 3’s new controller. Anyway, the installation was laggy but the color tracking part works perfectly, never missed a color when I was there.
SMALLab Colors:
Sony Museum Installation:
These two spectrums show that there is room for Smallab to expand the choices of color wider.
Simply walking around in the city of Tokyo, I see trendy technologies embedded in all kinds of communicational media and they give me ideas. One of many new things I saw this time is this new upgraded QR code. There are not many of them but they stands out quite well among other regular QR codes. These new QR codes allow companies to create identity of their own by embedding graphical element in the center, color or not. With these new QR codes, I can tell a Mos Burger QR code from an Adidas one, which I wasn’t able to do so in the past. This is great because now part of QR code is readable by human beings! I see a new city game here!
Again, this is not the first time I saw a legible visual inside of a QR code, Pet Shop Boy has done it long time ago, however, Japanese know how to take advantage of this kind of stuff in a really really awesome way. If you know the basics of QR code, you must remember reading something like “Data and Error Correction Key”. Based on these keys, QR code reader is able to gather information when there is an acceptable area of data loss in the patterns. In other words, if part of QR code is covered up, QR reader will still be able to read it. ( There are a few conditions to be satisfied for it to work, see wiki for more details. ) Now, exploit this idea further by covering up part of QR code intentionally with a designed identity visual, personalize QR code for own benefits, brilliant!
I don’t know the math involved for it to work correctly in terms of what is the size of embedded visual relates to the resolution of QR code, but I will spend time trial-and-error, it is totally worthy, to put my logo in my QR code so you know it is me before you ever snap that code with your beloved cell phone.
After some trial-and-errors, this is my very own QR code:
What I did:
I generated a XL QR code with my blog address embedded from here to start out with. Brought it in to Photoshop and drew a red square in the center, started large and trimmed it down bit by bit till my QR code reader can read it, then I shaped it to a rabbit.
What I learned in the making:
The relationship between data length, icon size, and resolution of the pattern area does mater, the red rabbit is as big as I can get with this resolution.
What’s next:
*experience other positions than dead center.
*using animation instead of static picture.
*There could be a game using QR code as the game space. In order to reveal the message, player has to get the roaming avatar to go back to the center and sit down (sitting down makes the avatar smaller, pixel wise, playing with the borderline of size:resolution).
An interactive data visualization raising awareness of issues related to water. Using RSS feed as the source, blog posting that include the phrase “water is” are dynamically displayed. This is a collaborative work between Donny Chou, Yumi Endo, Taeko Fukamoto, Najilah Feanny Hicks, Hsiang Ju and Mike Sy Lee from the Parsons Design & Technology department. Most of the collaborators are my proud students. I had help build the initial prototype for this project.
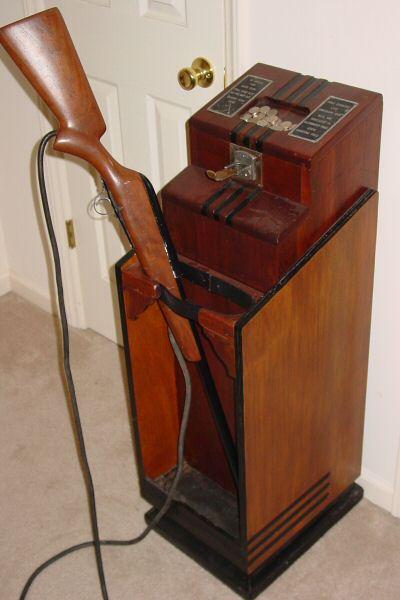
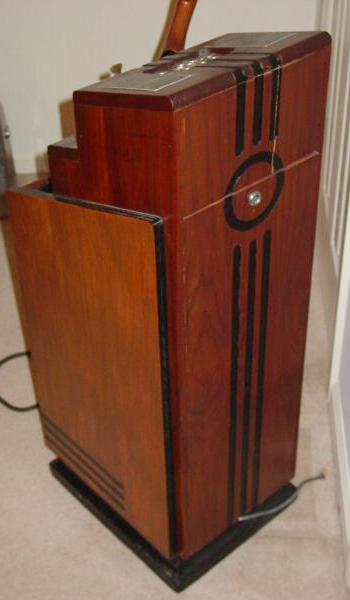
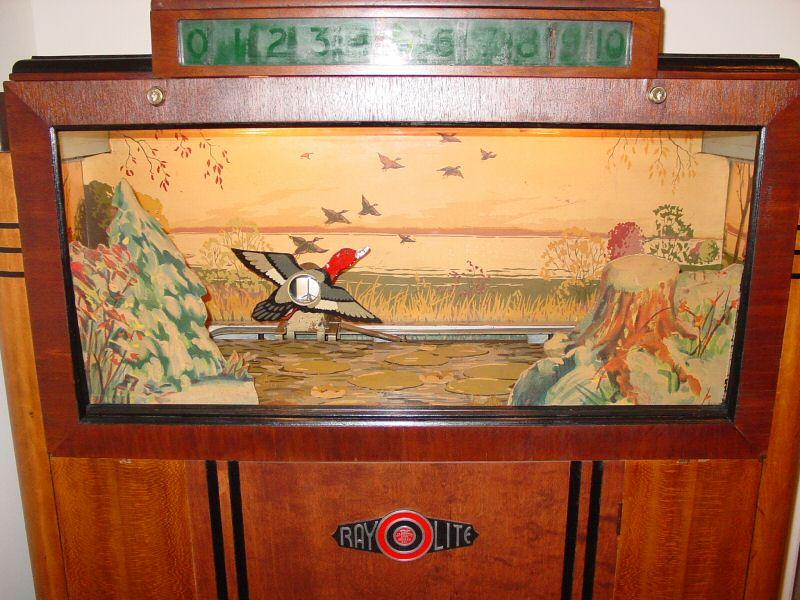
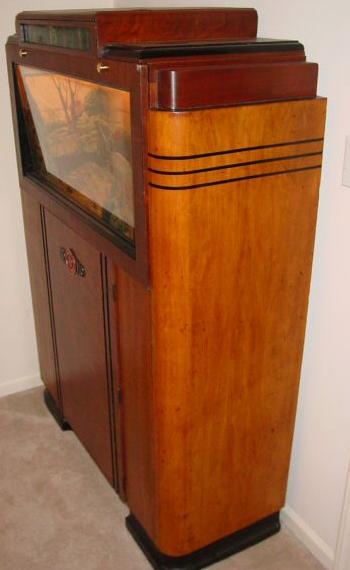
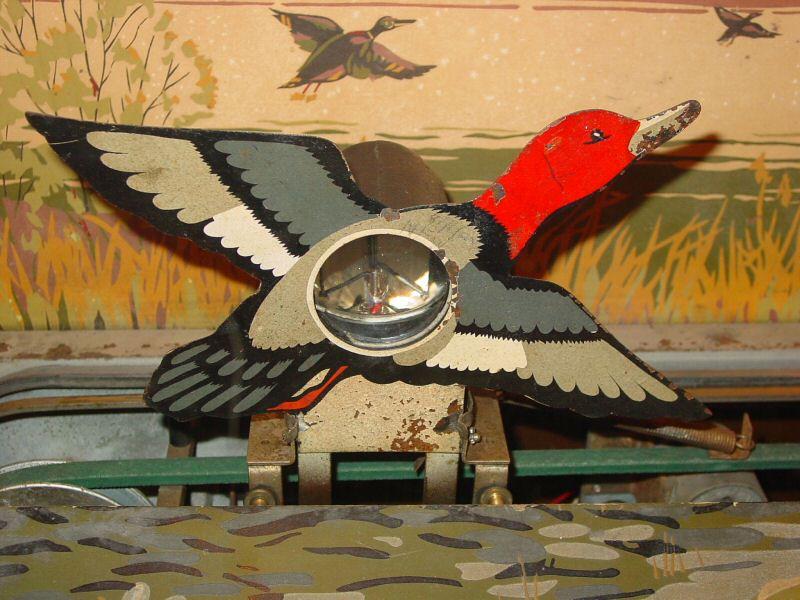
The first credited light gun game, Seeburg Ray-O-Lite, is an arcade duck hunting game appeared in as early as 1936. The earliest light gun video game I have found is the Triple Hunt by Atari in 1977, five years after PONG was invented. There are over 200 video games were produced in the course of thirty years for various kinds of light guns. However, it dies out silently after 2000 when the majority of gamers started to replace their CRT(Cathode Ray Tube) TVs with the new flat screen.
There are three different methods for video game light guns to detect where the light gun is pointing at and all of these methods require the line scanning rate of CRT. Since LCD, Plasma TV and Projector refresh their screens all at once instead of line by line, all three methods become useless. However, Wii has introduced a *new way of pointing and positioning on the screen despite the type of displays the users have. This has enlightened the hope of hardcore light gun gamer. THE NEW AGE OF LIGHT GUN IS COMING!
*new way- Everything about Wii is not new. The infrared light, IR transistor, and motion detector, all of these have been tested out in the NES period in one way or another. Wii did a great job on putting all these ideas together and rebuild them with better technology and design, and then reintroduced them to us fifteen years later.
There are also new third party light guns out there that work with LCD displays using similar technology that Wii has. However, it is nothing new in terms of gaming experience (inputs), the third party gun itself is basically an alteration of the most recent light gun GUNCON2.
Second L: a new Light
My mission of the project is to design a light gun that can open up more game design possibilities. Following are some precedent for a playful interface.
explore interactivity other than pushing the button and pulling the trigger
Wii controller has successfully introduced a new game experience by simulating all kinds of movements. However, there should be more than just a rectangular-shape controller.
All the meters that used to be on the screen should be on the gun.
Players should be able to “use” the gun or to manipulate the gun during the gameplay.
Make use of all the pins. Gun controller usually uses less than half of all the available pins on the connector which means there is more room for possibilities!
Customization:
voice-over
customized parts and stickers
different type of inputs
expendable weapon slots
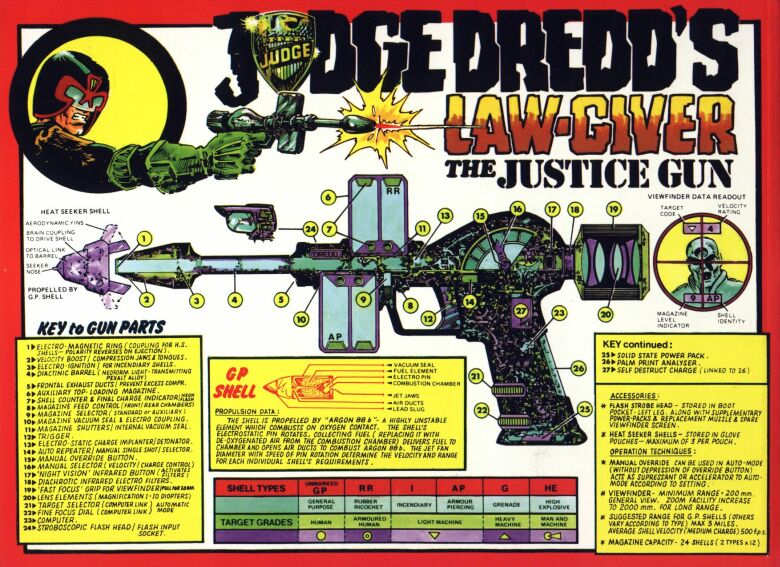
Third L: Judge Dredd’s Lawgiver
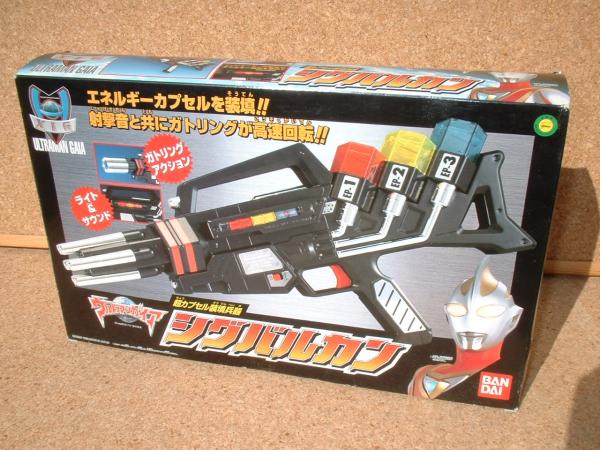
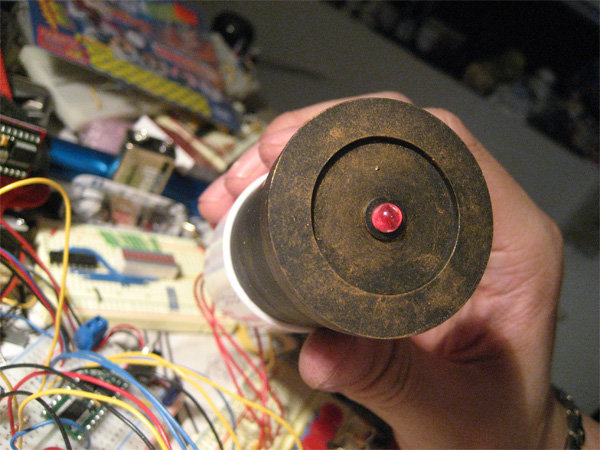
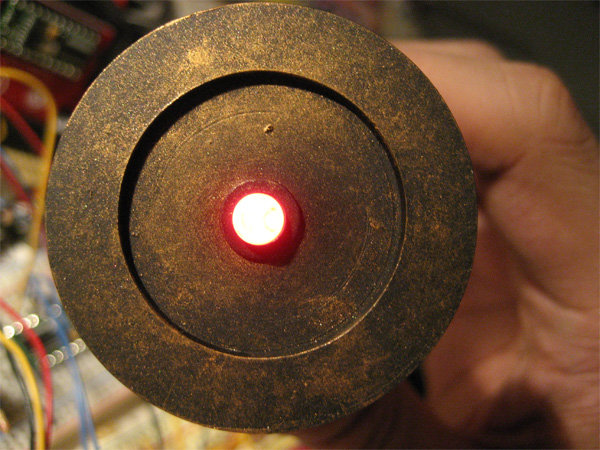
I am fascinated by Judge Dredd’s voice activated and multi-ammunition gun, the Lawgiver. To full fill my mission of the project, I decided to create a light gun that the player can change the ammunition on the gun in real-time to activate different weapon in the game.
Fourth L: Love me and help me
Please don’t be hesitated to give me advises and all your old light guns.
Fifth L: technoLogy Ideally I am going to use Wii remote controller for the screen pointing system, basic stamp for gun interface, Proce55ing for serial communication between Flash and BS2.
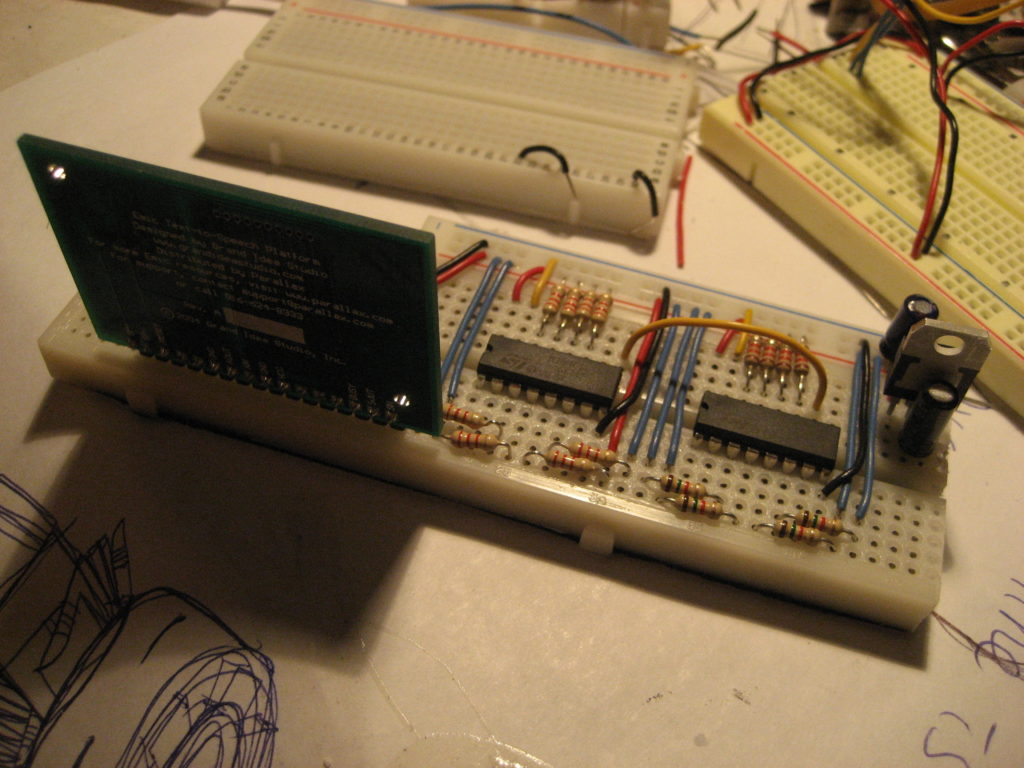
04/06/07 I have finally made some progress tonight on the technology aspect of the project. The Wii remote is still buggy with the IR sensors but I am able to make the communication between BS2 and Flash work.
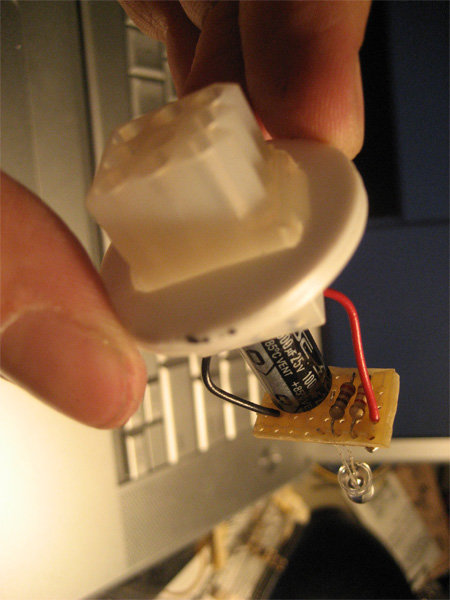
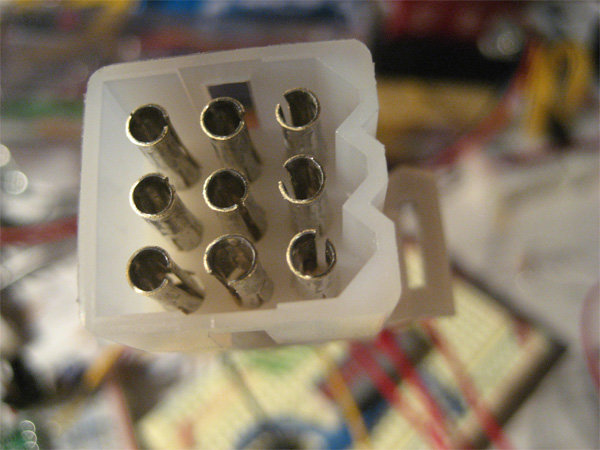
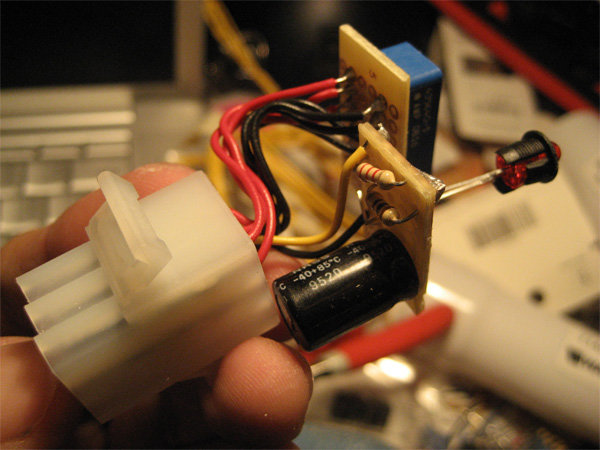
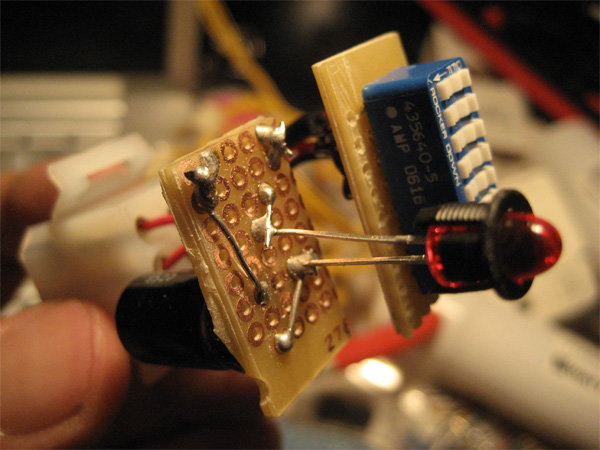
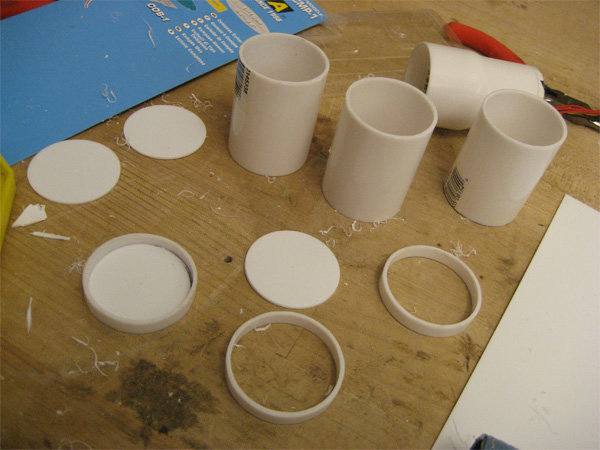
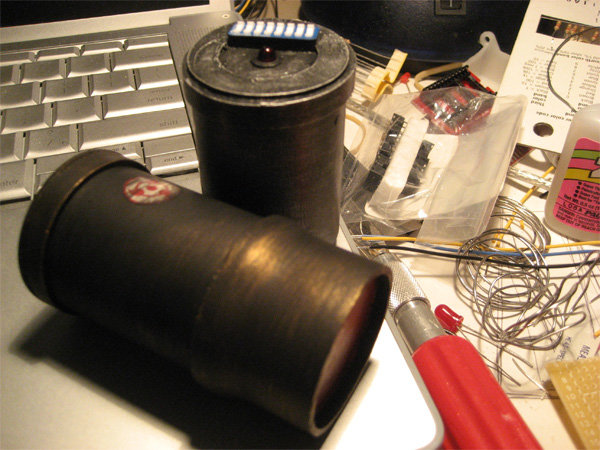
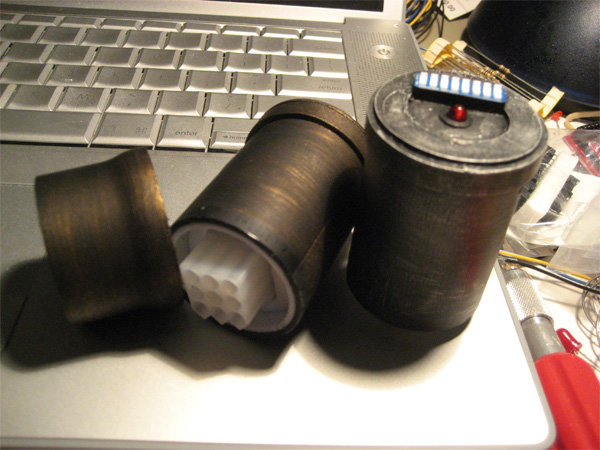
04/09/07 Finished testing PISO chips and they work nice. In my original proposal I was going to make a shifting gear for weapon switching but I was convinced by the class maybe it will be more interesting if different parts gives different powers. Therefore I introduce a new element that replaces the shifting gear, it is the bullet system. How obvious, different kind of bullets gives different weapon ammo in the game. Player has to physical load a symbolic bullet to enable a particular weapon in the game. Different bullet gives a different ammo as well as special functionality that comes with it. Spending the weekend testing the bullet system and built a few bullets too.
GAME DESIGN the demo game consist two section: one is for testing out all the bullets and knobs and the other is a simulation for all the weapons.
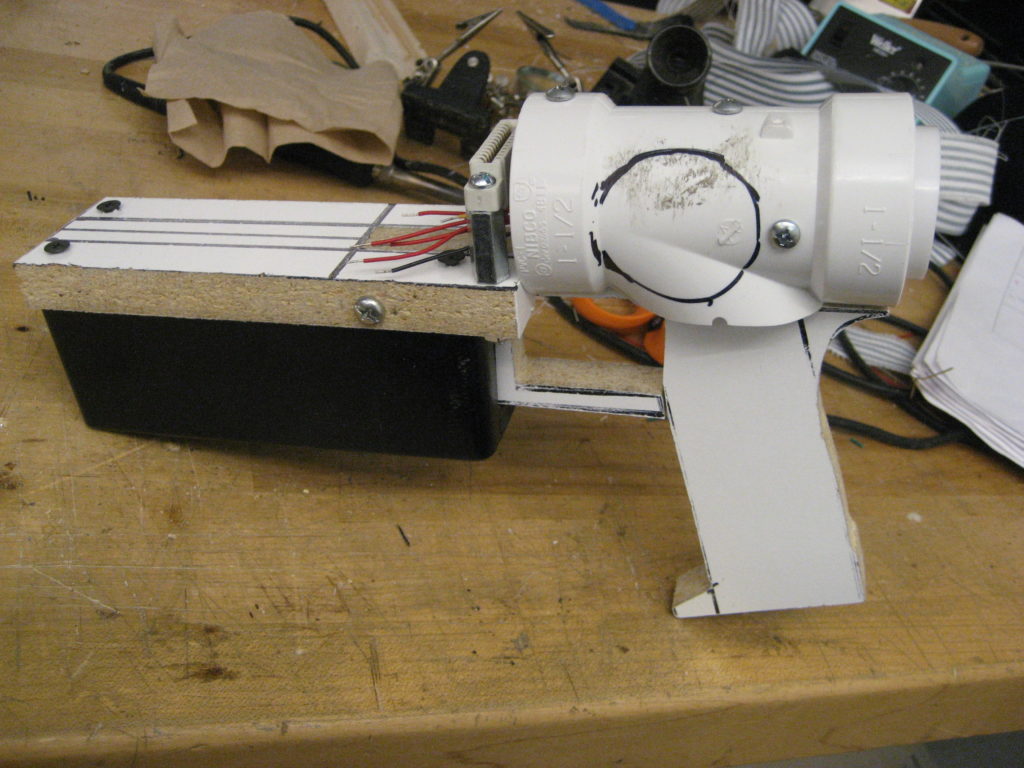
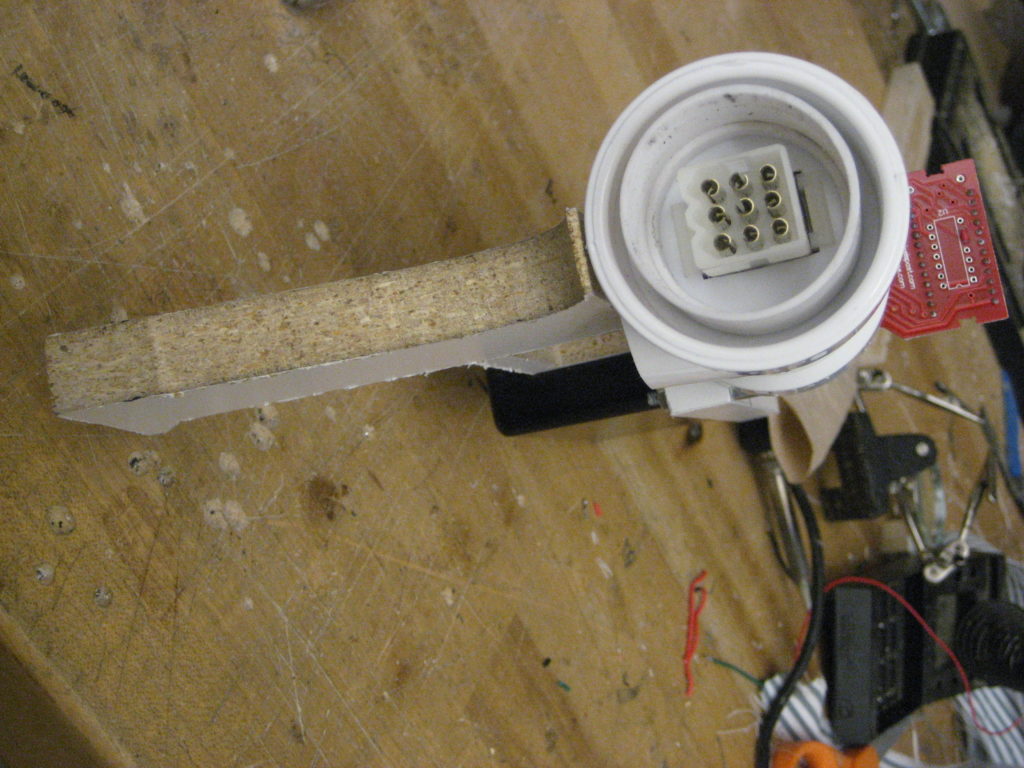
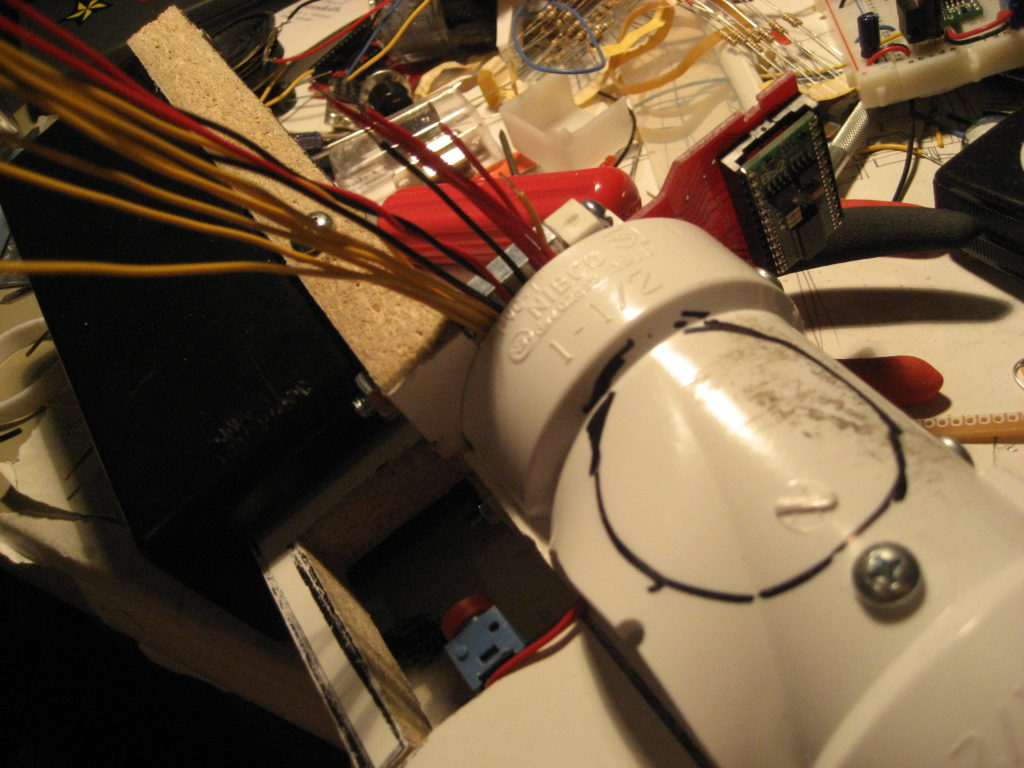
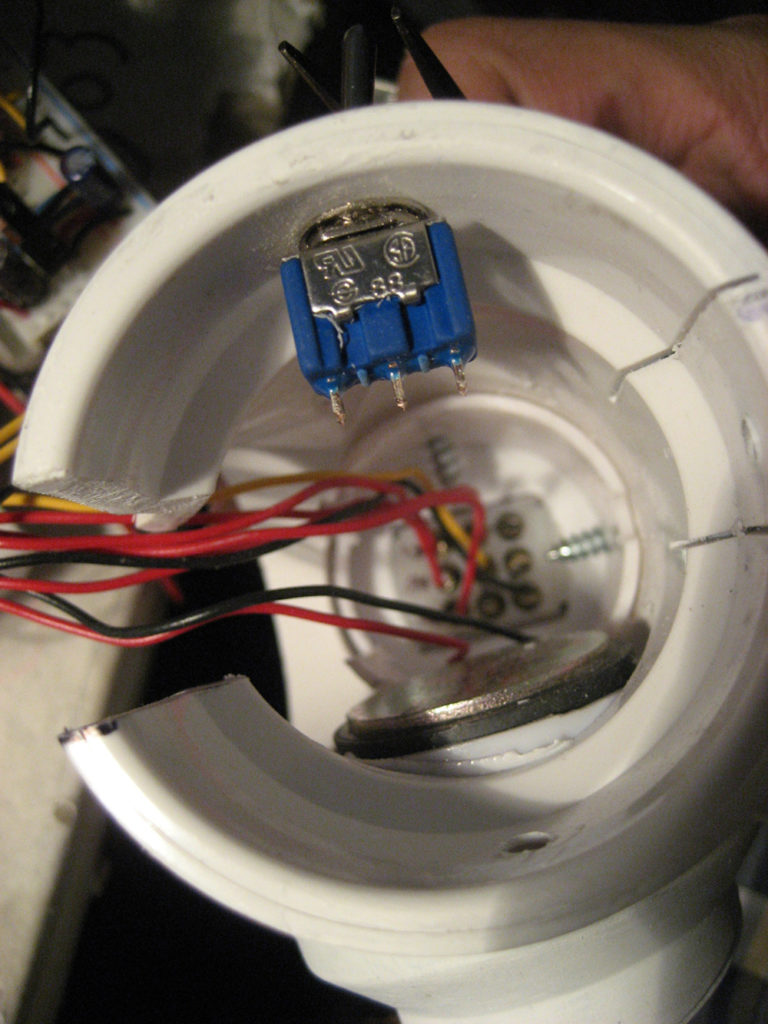
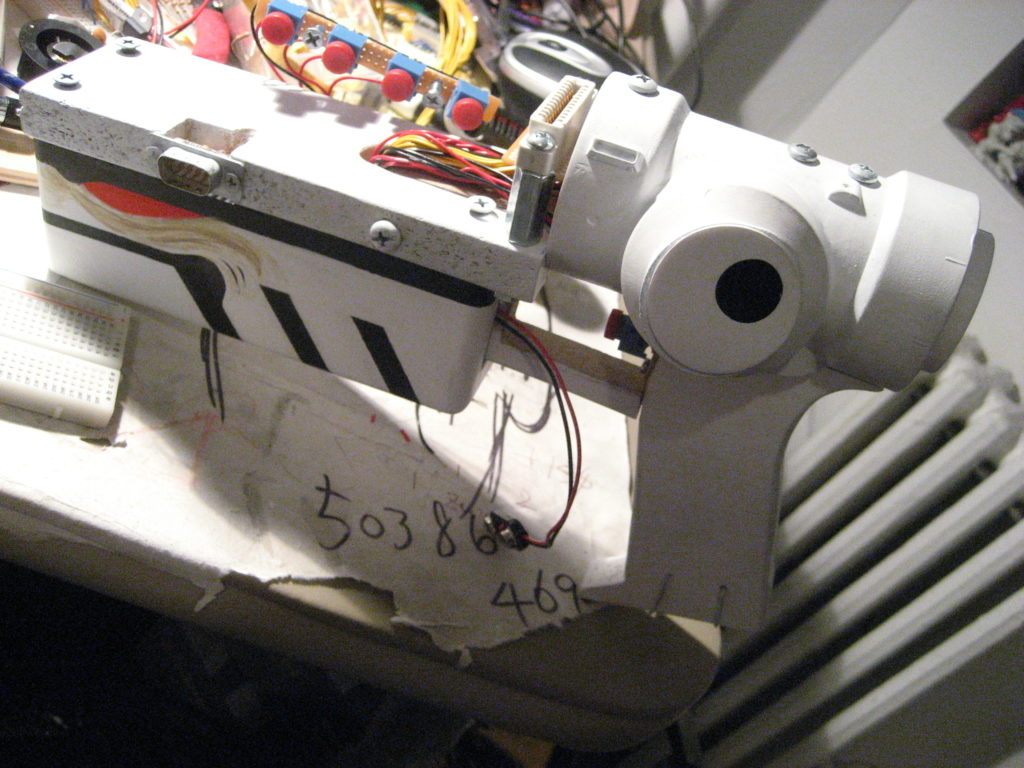
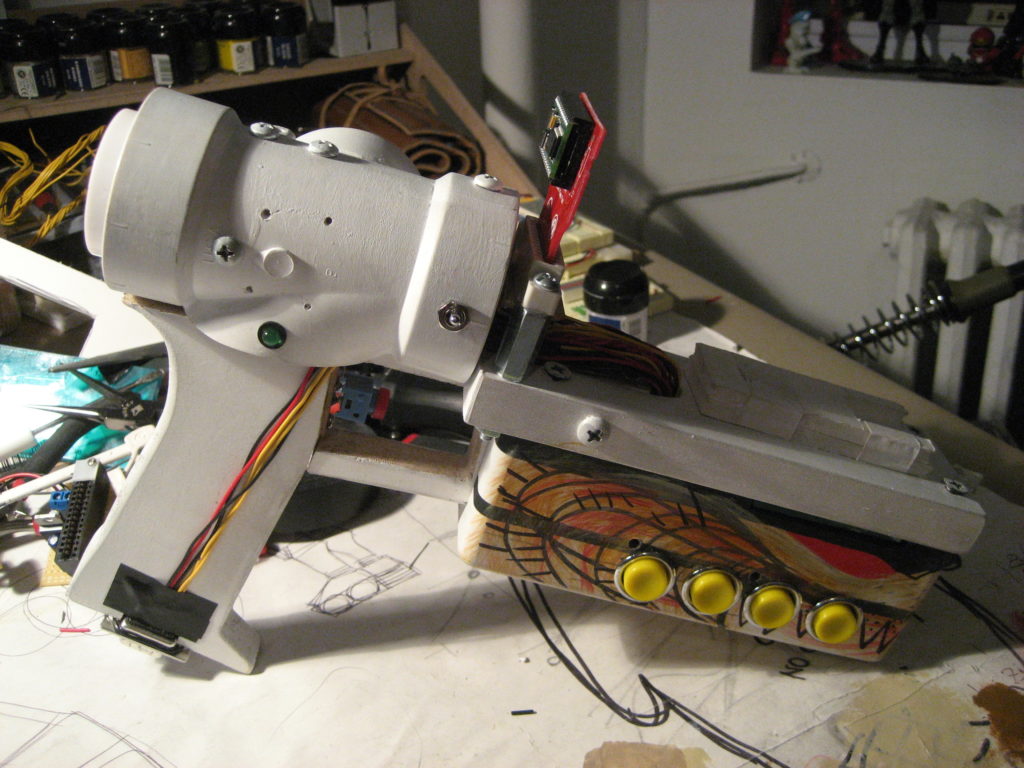
04/11/07 Start building the gun. I cut the basic shape of the gun out of a 1/2″ thick wood board and sanded it to soften the edge. I then covered the top of the gun with a three-way plumping tube and mounted the bullet socket in the back.
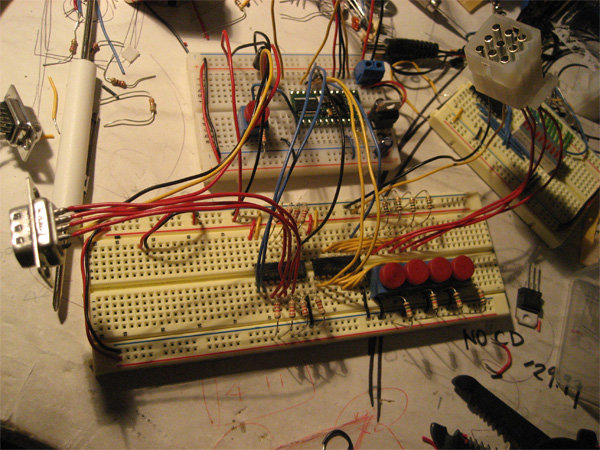
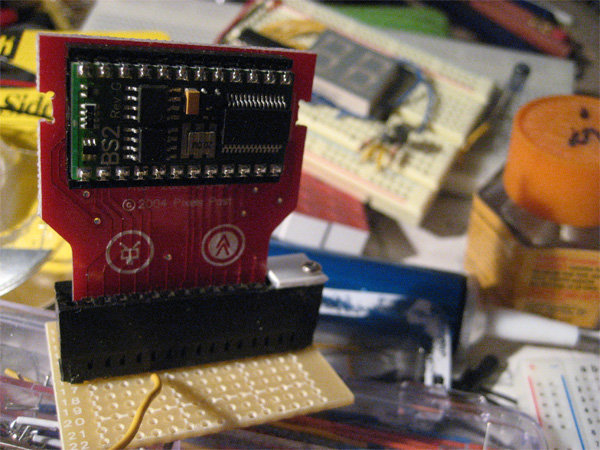
04/13/07 Organize wires. I soldered wires to the edge connector for the custom made BS2 PCB board. Tested the circuit before putting them in the white box below the Wii barrel. Numbered all the wires that go into the box.
Mavis Fan is my first client after I switched to Flash-based website. Since Flash can be more dynamic and interactive compared to HTML and CSS, I got to ditch the design principles of a grid-based webpage and re-imagine how navigation works in this project.