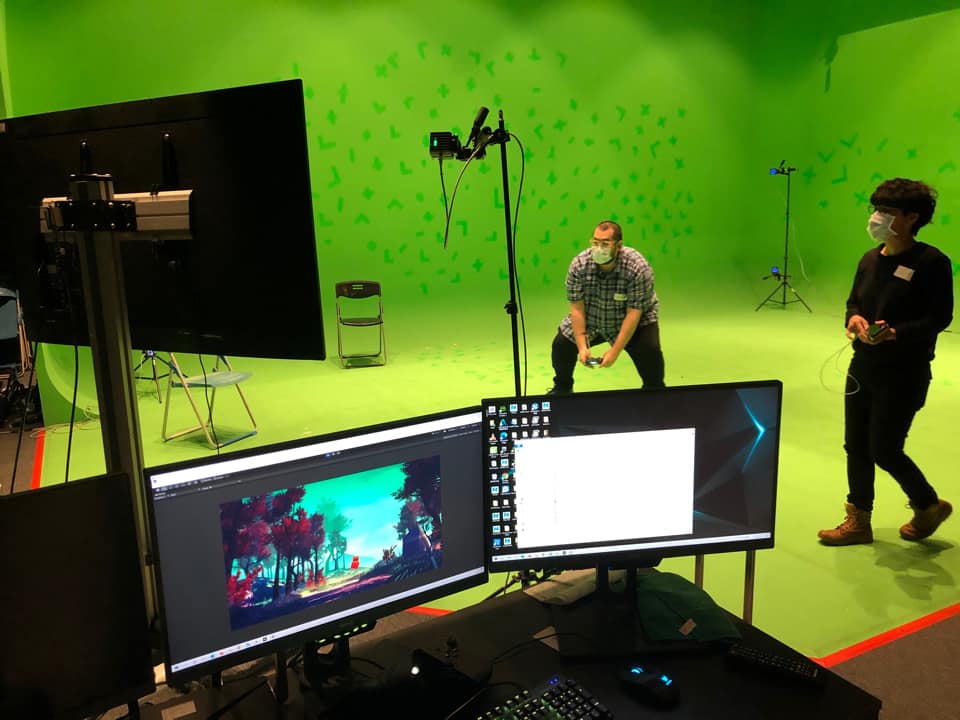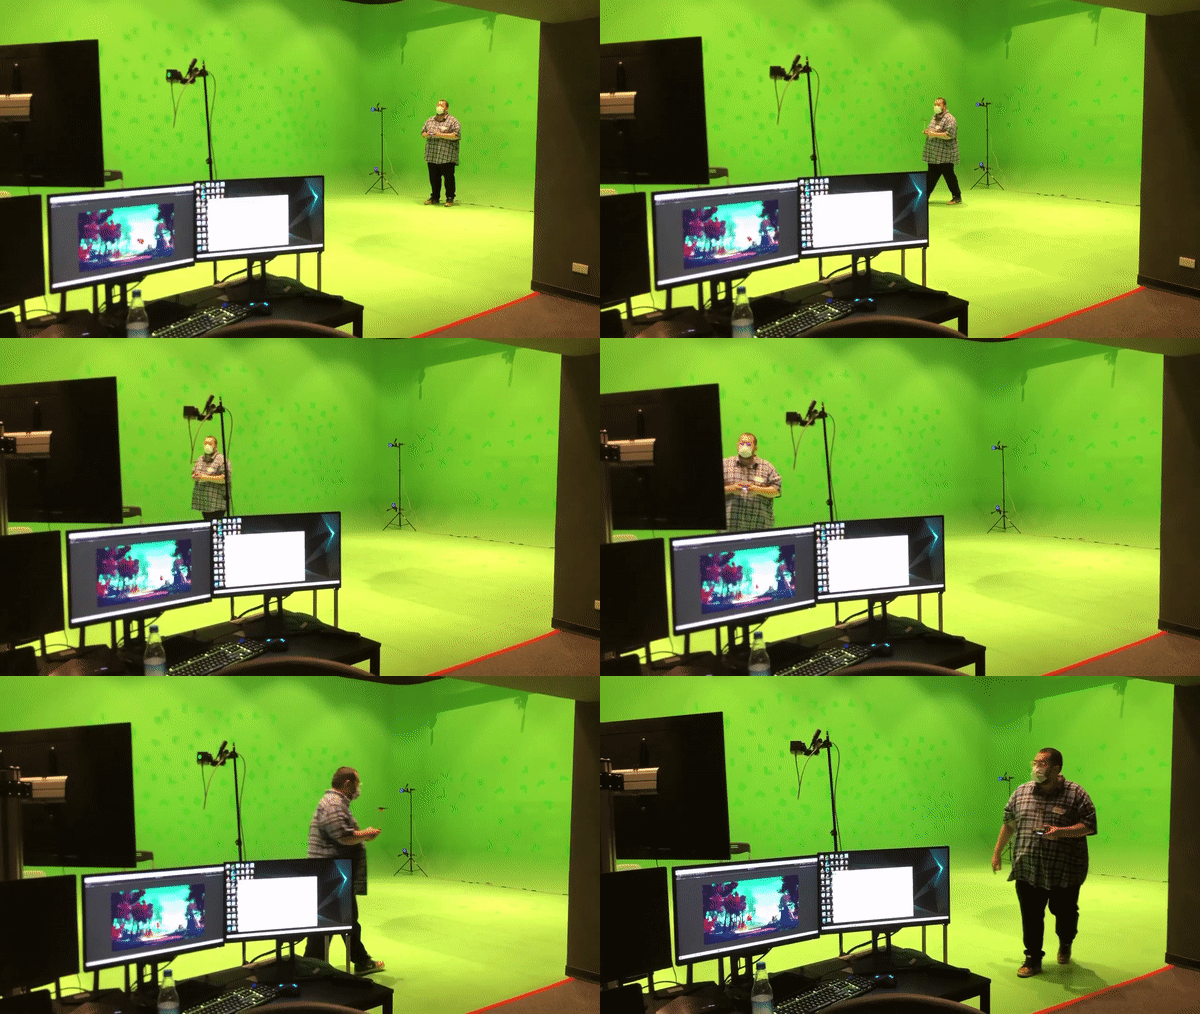
During the planning of a workshop on Motion Capture recently, I was thinking about what to demo right after calibration. I remembered when I visited Disney World last time, I saw a super cool live performance called “Turtle Talk with Crush!” I thought it would be interesting to map a rigid body to a digital character in Unity3D.
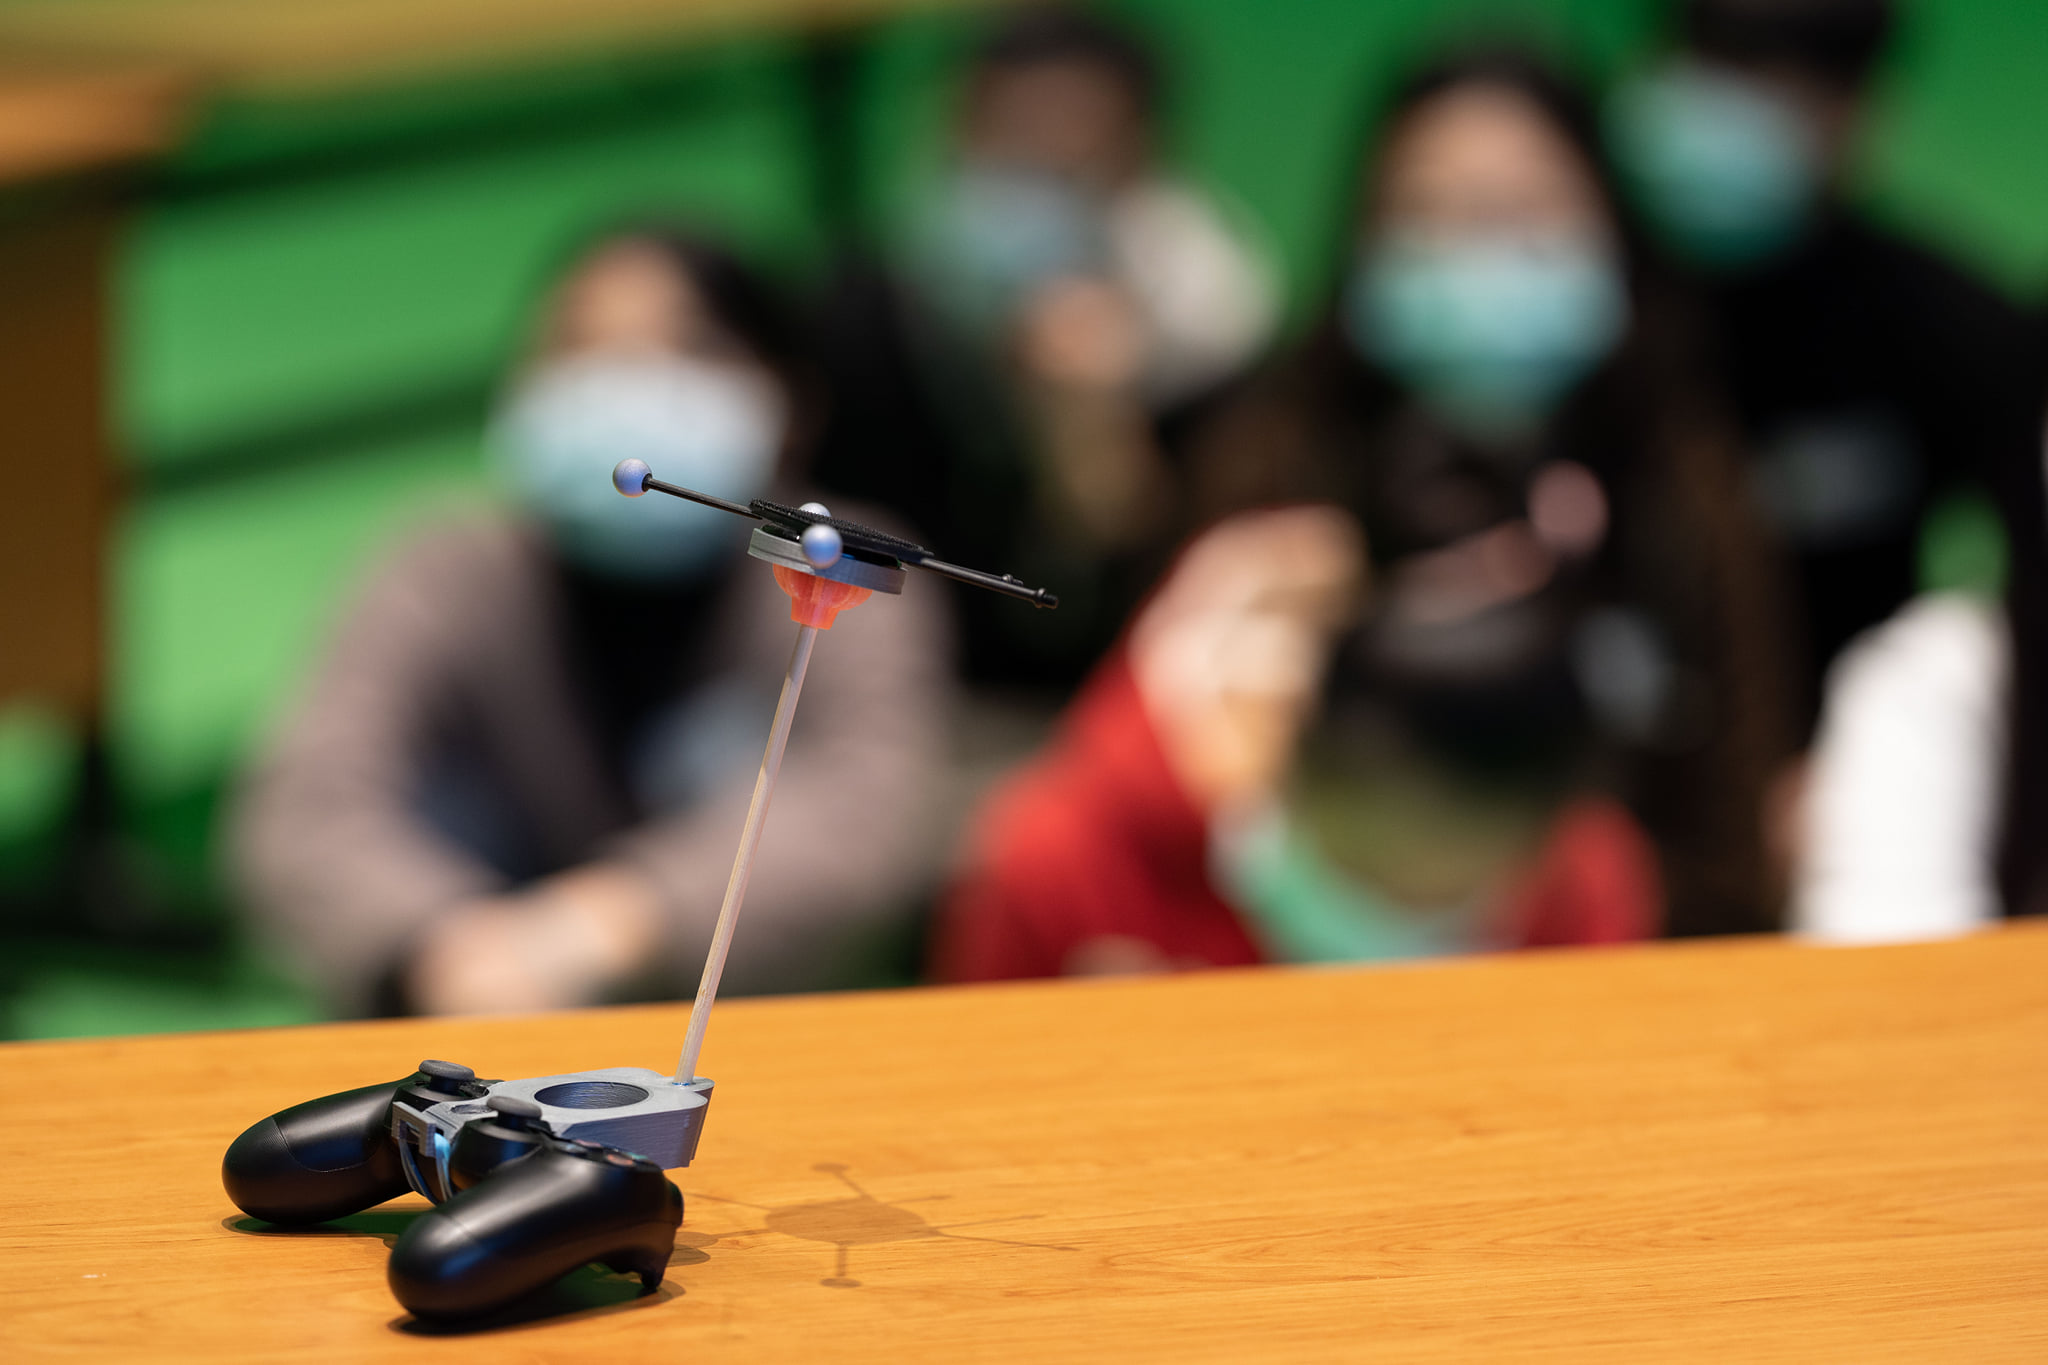
To take it to a next level, bundle it with a game controller and turn it into an interactive puppet rig! I 3D printed an add-on to my PS4 controller and quickly put together a scene with free assets and there we go! This little red ghost lost in the woods did the job for me.
I found an existing add-on on Thingiverse and modified it on Tinkercad. It is using hooks and a rubber band to hang on to the controller on the back. I tried to find an angle to print so I don’t have problems creating supports, especially where the hooks are.


PS4 Controller Map for Unity:
source
Buttons
    Square  = joystick button 0
    X       = joystick button 1
    Circle  = joystick button 2
    Triangle= joystick button 3
    L1      = joystick button 4
    R1      = joystick button 5
    L2      = joystick button 6
    R2      = joystick button 7
    Share	= joystick button 8
    Options = joystick button 9
    L3      = joystick button 10
    R3      = joystick button 11
    PS      = joystick button 12
    PadPress= joystick button 13

Axes:
    LeftStickX      = X-Axis
    LeftStickY      = Y-Axis (Inverted?)
    RightStickX     = 3rd Axis
    RightStickY     = 4th Axis (Inverted?)
    L2              = 5th Axis (-1.0f to 1.0f range, unpressed is -1.0f)
    R2              = 6th Axis (-1.0f to 1.0f range, unpressed is -1.0f)
    DPadX           = 7th Axis
    DPadY           = 8th Axis (Inverted?)